Showing posts with label Painting. Show all posts

Saturday, 15 November 2025

Wet Paint: various items

It's been a while since I've done a wet paint post, probably because it's been a while since I actually painted some stuff. The last few weeks have been productive though, so here's some of the latest output off the painting table.
 

Fungal Giant - 3D printed figure


This figure has been 3D printed on my resin printer and was painted using Army Painter's Speed Paint. This was the first figure I painted with these paints (though not with this technique) and you can tell I was still feeling my way around the color selection. 
 
This and the next figure will become part of a fantasy army that is intended to go up against my dwarves.
 

Infected bear - 3D printed figure

Much like the giant above, this figure is 3D printed and painted with Army Painter speed paints. I got a much better feeling for colors with this one, insofar that I felt confident enough to try the speed paints on a historical unit, featured next.
 

Celt infantry: Eppegentii - Foundry, Renegade and Old Glory figures


 As mentioned, these were painted with the speed paints (with just a very few minor additions of regular paint). When painting them, I was not really happy with the result. Yet, as always, they turn out very well when put together in a unit. They are the seventh warband of my Celtic army, recently used with To the Strongest! rules. The best thing about this 20-man unit that it took literally less than 4 hours to paint - speed paints indeed.
 

GNW Björneborgs regiment, one company - Warfare miniatures


These are the first miniatures from Warfare / League of Augsburg miniatures I painted. While the figures are anatomically correct I do find the more exaggerated almost comical style of many other miniatures easier to paint (my other GNW Swedes are from Musketeer Miniatures). That said, these are lovely figures and I intend to build a few extra regiments with them. This company sneaked into the painting line because I need a single extra stand for an upcoming game.
 
These figures and the ones below were painted in my classic fashion, layering Vallejo Model Colour over black undercoat. 

Dwarven infantry - Mantic Games miniatures

This is the next unit for my growing dwarven army. The army is now up to one unit of crossbowmen, one artillery unit, two infantry units (including this one) and the chappie below.
 

Dwarven King - Scibor Miniatures

This figure will be the leader of my dwarven army. He's been painted with a few more layers than usual (well, mostly 3 layers instead of 2), noblesse oblige and all that.
Ah yes - the duck. Those of you familiar with my armies will know that most of my generals feature some form of duck as a banner or companion, and this one is no exception.


Saturday, 17 August 2019

Citadel contrast paint

I decided to see what all the fuss was about and bought a couple of Citadel contrast paints. The idea is that you give the model a beige or grey undercoat, then apply the contrast paint (possibly in multiple layers). The technique is advertised and discussed on various forums as if it's a revolutionary new way of painting, but I think that's a slight exaggeration. I have known about this style of painting (light undercoat, then using washes) for years, although I never tried it myself. The basic effect is that the most of the pigment acts as the color of a wash, while the translucent layer together with the undercoat produces a highlight.

I decided to use a figure from the Bones kickstarter some years ago, a classic wizard. So below you see the results.

The coat (red), hat (brown/yellow), the face ad hands (flesh) and the beard (grey) were done using contrast paints, and smaller details with normal paints. It is best seen on the back of the coat, since that whole area is only done with contrast paint - all the other areas have details being added or some other colours. It sort of works, but since the paints are not very opaque, any errors cannot be painted over. You need to apply the basecolor again on the spot you want to correct, then apply contrast paint again. So that's a bit of a nuisance and takes a different way of thinking about painting your miniature. I am pretty old school in that respect (paint from the inside out, base color, wash and drybrush), but with contrast paint, you need to think carefully in which order to apply the different colours.

I will need to do some more experimenting before I can come to final judgements though ...


Tuesday, 23 January 2018

Switching back to Vallejo Model Colour

Over the years (and I dread to count their number), I've had three major brands of paints I used.

Way in the beginning, when animals still spoke and we were all much younger, hairier and still at university, I started out using Tamiya acrylics and a smattering of Games Workshop paints (the round pots with flip on lids). This was mostly for practical reasons, as those were the paints that were easily available in Leuven at that time (mostly at the Lonely Mountain game shop, our home away from home at that time, and the Christiaensen toy store).

Some years later, when the internet started breaking through, I switched to Vallejo Model Colours, both mail order and from a model train store in Leuven which then carried this range. The period I used Vallejo Model Colours also coincided with the period I painted every single figure, whether it was a leader or a rank and file soldier, in full-on 3+ layer mode. This meant that, while I was very happy with the quality of the paints themselves, I did spend a lot of time mixing colours.

When Foundry then came out with their triad system and this happened to coincide with my tendency to ease off on the complexity of the painting, I made the switch to Foundry paints exclusively. Not having to mix colours any more but being able to use them straight from the pot was the main reason I switched to them, even though purely quality-wise, the Vallejo paints are the better ones IMO.

Which brings us to today. After somewhere between 5 and 10 years of using Foundry paints, I'm switching back to Vallejo Model Colours. I have two main reasons for this.

The first reason is my drift towards army level painting and away from display level painting which is now at the point where I only use two layers of colour on the vast majority of my paint jobs. This means that on the one hand one pot of paint in each Foundry triad remains unused while on the other hand it will also mean that, given the vast range of Vallejo paints, I am much more confident of finding matching colour pairs in their range without having to resort to mixing again.

The second reason is a more negative one and has to do with the Foundry paint pots themselves. More and more, I find that my pots end up like this long before the paint in them is used up:


On virtually each and every pot of paint that I have that is older than a year and is regularly used, the lids are broken. It starts off with the little tab you push to open the lid breaking off, usually within the first few months of using the pot. It then gets progressively worse, with the lid (which now has to be wedged open with a screwdriver or a set of pliers or some such device) breaking up more and more until all that is left is the bare minimum to seal the pot, as can be seen on the pot of Teal Blue on the right. The Vallejo paint, with its screw-top eyedropper bottles, does not have this problem.


Having taken to decision to switch back to Vallejo, I splashed out and bought a 72-bottle set from Scenery Workshop in the Netherlands. This, and the handful of bottles I still had stashed away somewhere will become my main set of paints.

What's everyone else's favourite brand of paint and why?


Saturday, 20 January 2018

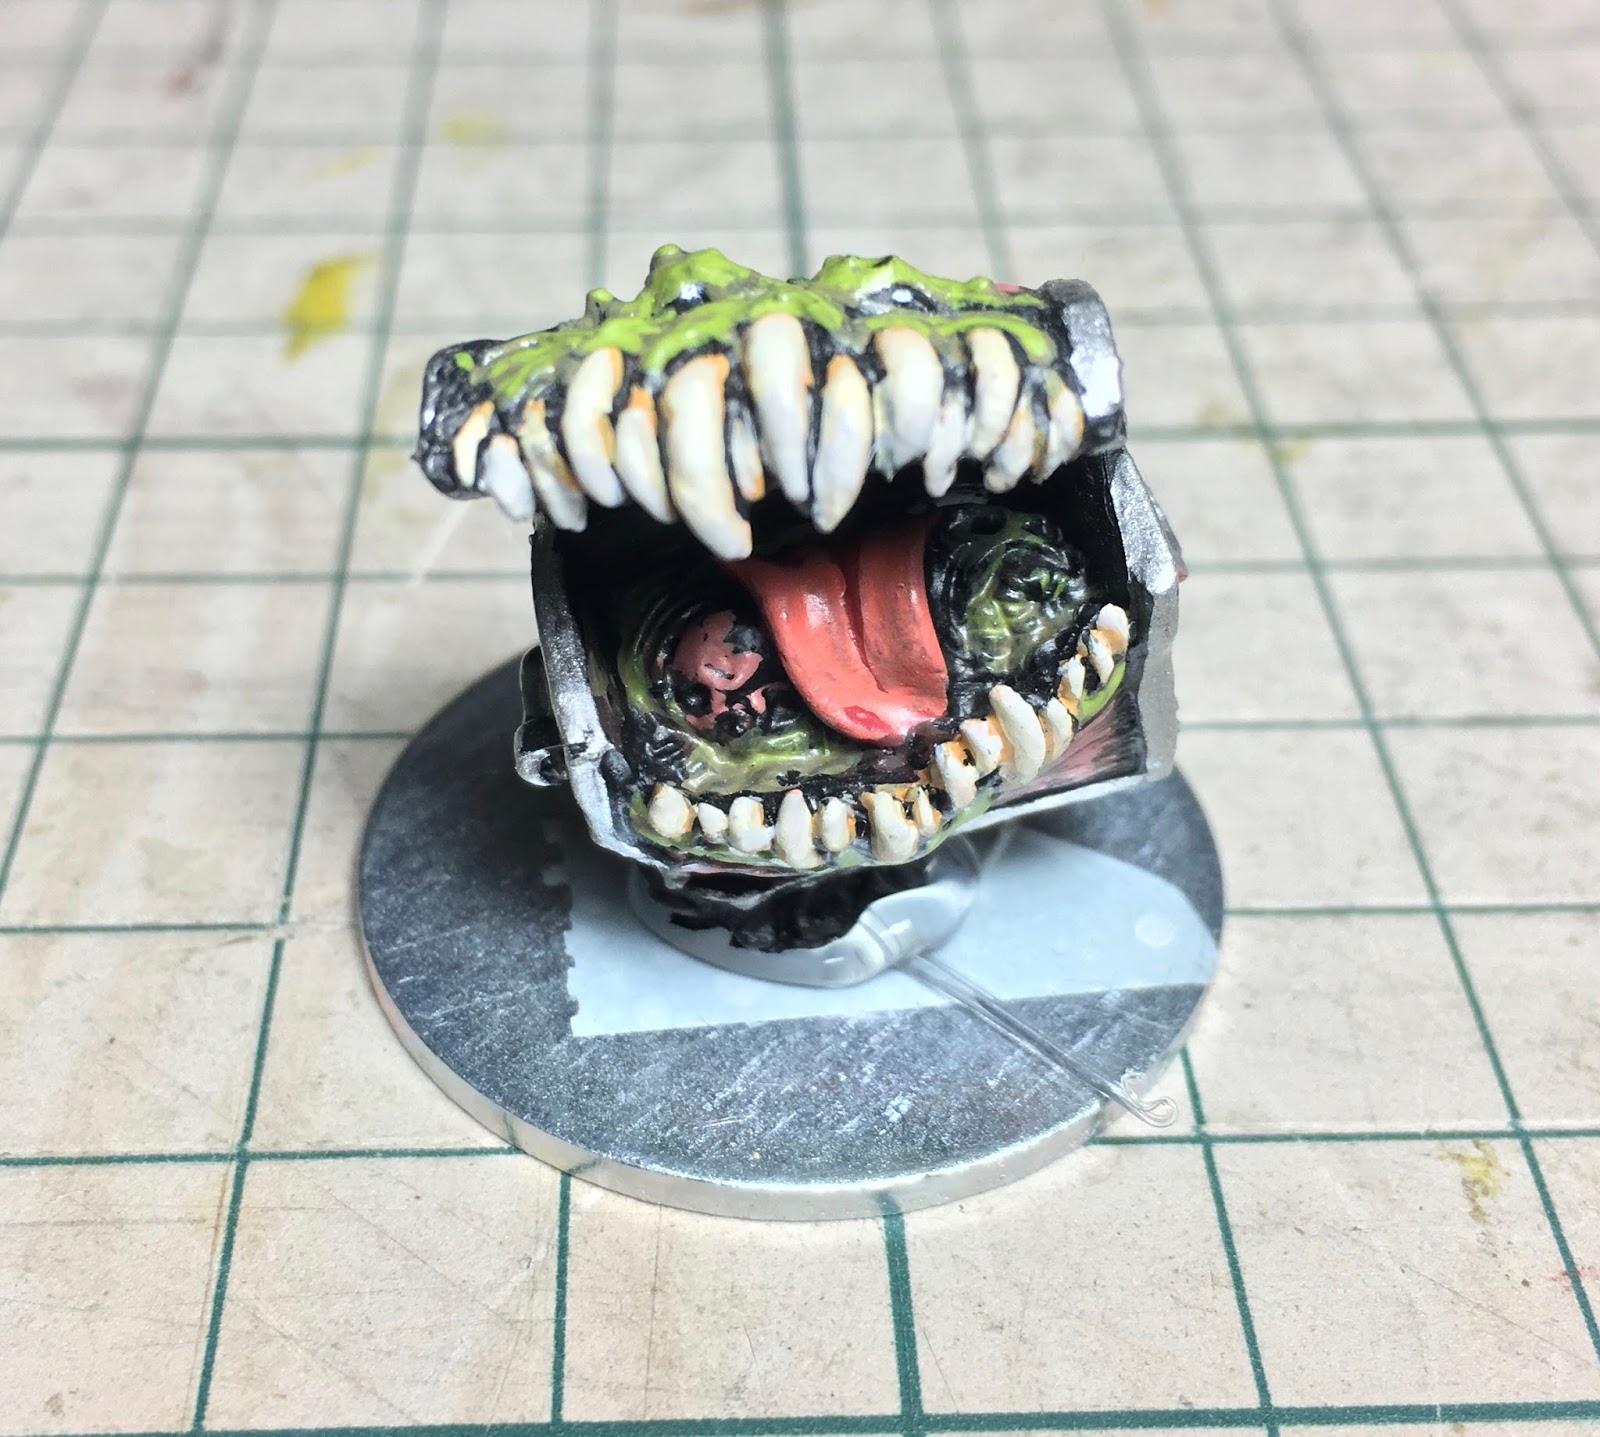
Wet Paint: mimic

Here's a few shots of a little mimic that has been hiding three-quarters finished in my painting box for a while before I finally finished it tonight:


The miniature is another Reaper Bones one. Even though the mimic has long been on of my favourite 'classic' D&D monsters, I think I've never used it in one of my adventures so far. Time to correct that oversight, I would say :)

Thursday, 11 January 2018

Wet Paint: mushroom men


These guys are Reaper Bones miniatures which I got as part of either the first or second Bones Kickstarter (I forget which). In the deep background you can see the first of the three mushroom men, whom I painted quite a while ago -- he made it back on my painting desk as a painting reference for his two friends :).

All three mushroom men will form a part of my growing 'it came from the forest' fantasy force.

Thursday, 30 November 2017

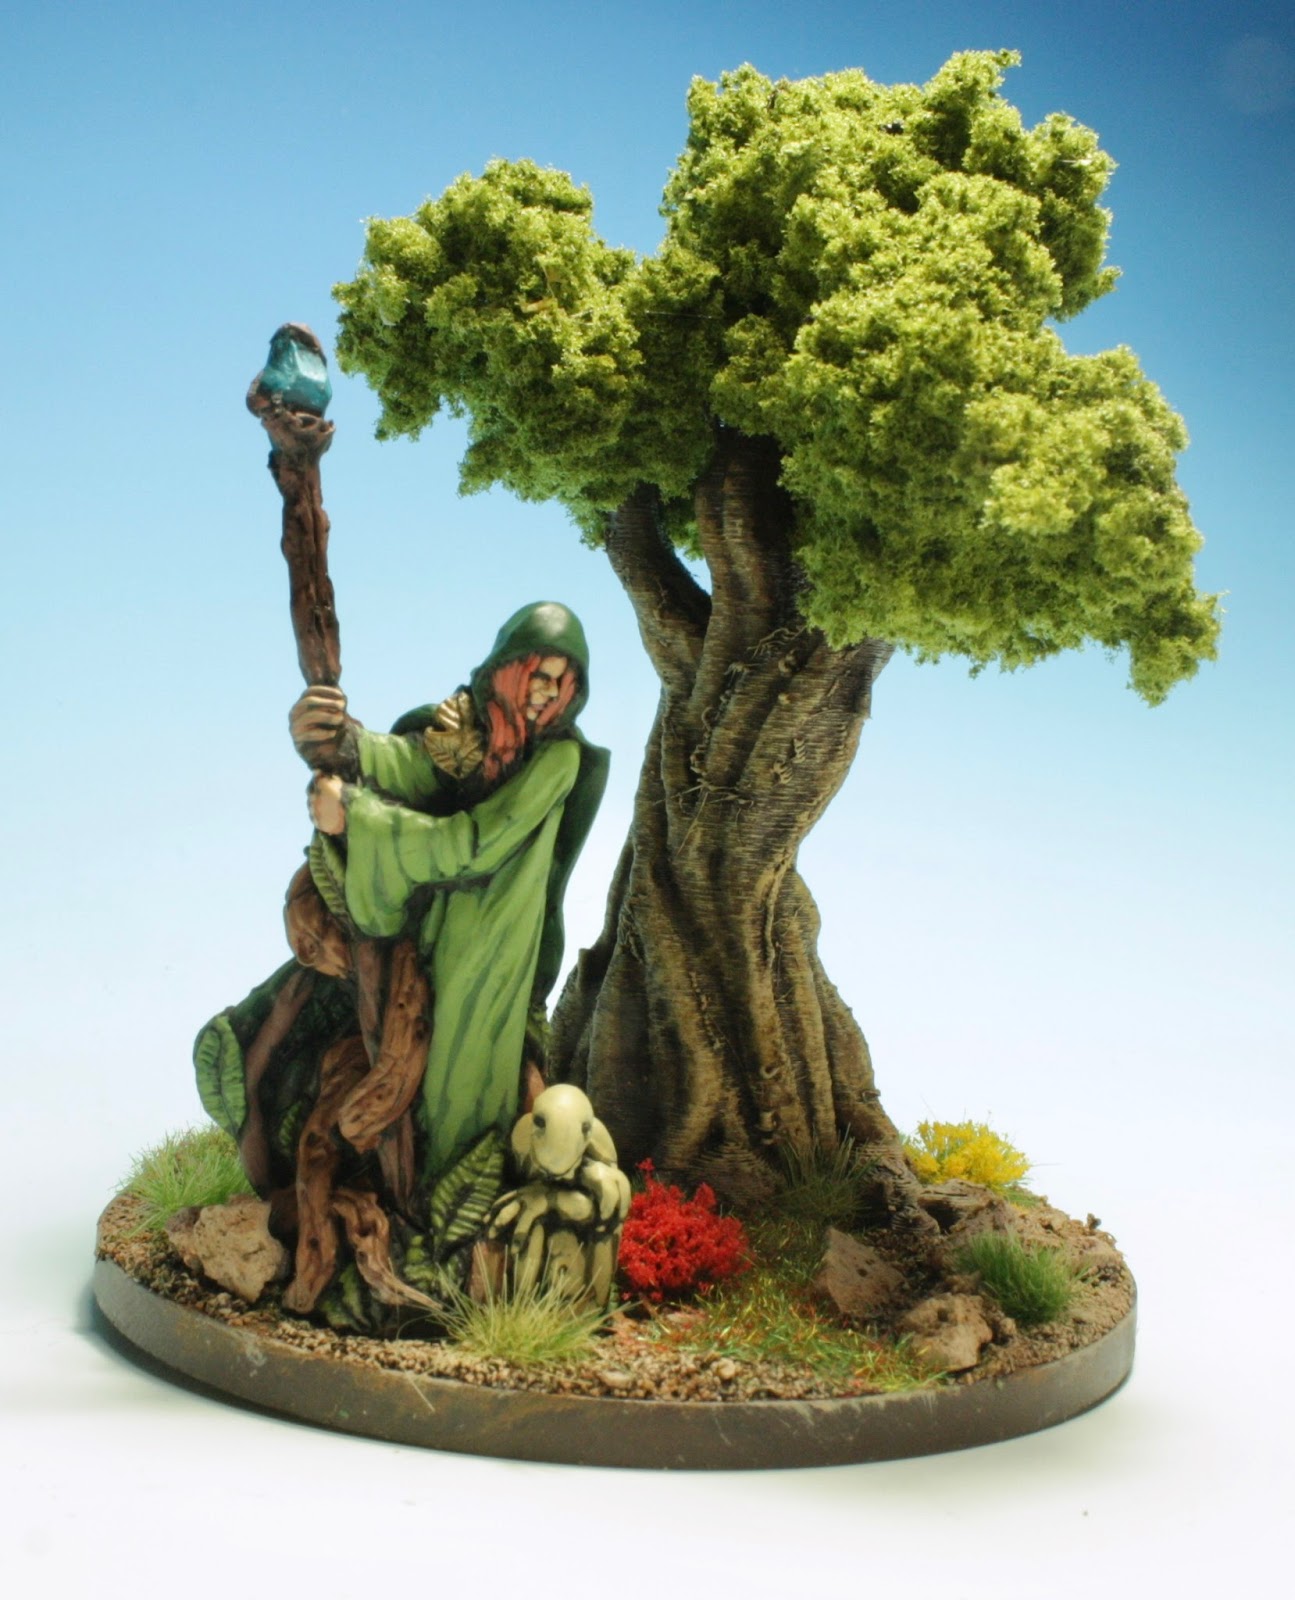
Cairion sul Viridis, Master of Bough, Leaf and Crown

I featured this figure in a Wet Paint post earlier, but here he is again, all based and dolled up for your viewing pleasure:


As an interesting aside, the tree is one I 3D printed using the STL files from Printable Scenery, with Woodlands Scenics clump foliage glued on as leaves.

Thursday, 16 November 2017

Wet Paint - forest mage

Allow me to introduce: Cairion sul Viridis, Master of Bough, Leaf and Crown, Keeper of the Azure Flame and Guardian of the Furthest Reaches:


I am (slowly) building a fantasy force with a forest theme, and this guy will be its commander, and he might even show up in my roleplaying campaign. I have no idea where I got the figure -- it was of some boutique fantasy miniature webshop somewhere. All I know is that the figure came in two parts (the main body and the hands and upper part of the staff) and is in resin. If anybody recognises the figure, give a yell :).

Ah yes -- the little guy sitting in front of him is his familiar Fred. He's a fungus. Fred the Familiar Fungus, as it were :)

Update: I found where I got the figure. He's the Scibor Miniatures elf mage.


Tuesday, 14 November 2017

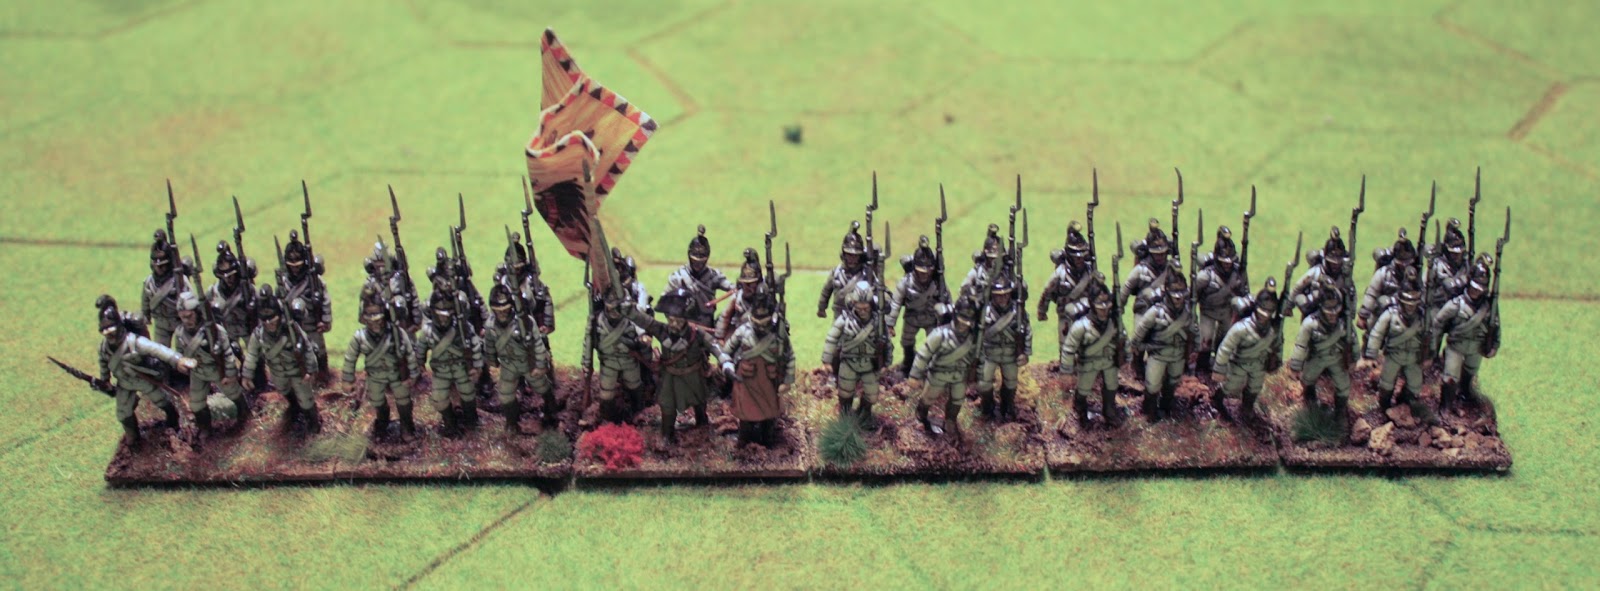
Wet Paint: IR 30 - De Ligne

These guys have been on my painting table for so long that they have featured as background for numerous 'wet paint' shots, but here they are finally finished. These are Austrian Infantry Regiment 30 De Ligne. I chose these to paint because they recruited in what was later to become Belgium but was then the Austrian Netherlands. I also lived very close to a Prince De Ligne street back in my Leuven days, so there's some connection there as well :). The figures are Perry plastics and the flag is from Maverick Models.


Monday, 30 October 2017

Some more figures painted

I finished a couple of figures over the weekend.

First. some retro scifi miniatures from Hydra Miniatures:


Saturnite Infantry from Blue Moon Manufacturing:


2 Chaos creatures from Eureka Miniatures, and "Dulle Griet", a promotional figure from the CRISIS convention in Antwerp:


And finally, some Victorian Horror figures: Dr Jekyll and Mr Hyde, Jack the Ripper, and a ghost Lady. Manufacturer unknown ...


Thursday, 21 September 2017

Gandalf and Hobbit Children

When you're in a bit of a painting funk, which I definitely am at the moment, one of the things that can help is to radically change what you're painting. In my case, I switched from historical figures to something more fantasy like:


That's the old Gandalf and hobbit children from Mithril Miniatures. I bought it decades ago in our Lonely Mountain period in Leuven and it has been laying around unpainted ever since then. Now it's painted :).

Tuesday, 18 July 2017

A quick paint job

I managed some time today to finish some figures I started several months ago.

The firsr are 3 Oldhammer militia figures. These are late eighties GW figures. I used painted shields I still had lying around.

Next are 5 "blue worms", Ainsty figures I acquired last year at CRISIS.


Thursday, 9 March 2017

Then and now II - 17 years of painting redux

I'm currently setting up an Ancients game on my wargame table using one of my oldest collections of figures - Post-Roman Britons and Saxons. IIRC, Post-Roman Britons and Arthur were my second army, just after building a Gallic DBA army.

Setting up these figures, I inevitably come across many of the Arthur figures in my collection, including the one I posted about earlier. This figure was painted in the same colours as one I painted way back in '97 (which got a silver medal at the Crisis painting convention of that year, IIRC). It's interesting to show the more recent Arthur (painted in 2013) and that first Arthur together in the same photo, much as I did for some 20mm British paras earlier:


In the photo above, the figure on the left is the more recently painted one, the one on the right is the one from '97. One thing that is different from the first '17 years comparison' photo is that both figures in this comparison have been painted to the full extent of my painting ability.

Looking at the figures side by side, I was actually surprised at the higher contrast on the more recent figure. It is probably logical, given that the figure on the left was painted up from a black base coat, while the one on the right used a grey base coat. Still, I had the idea in my mind that these two figures were much more similar in painting technique than they actually are.

So, what do you think of these figures? Which one do you think is the best?

Tuesday, 15 November 2016

Back to painting

After a year of almost no painting output (it happens), here's the latest bits off (technically, still on) my painting desk:


These are Front Rank Napoleonic Wurttemberg figures, painted up as the 1st Regiment. The idea is to replace my Victrix French brigade with a Wurttemberg one to supplement the Bavarian brigade I already have.

Some more figures to go to reach that goal :).

Friday, 10 June 2016

Wednesday, 18 May 2016

Painting monsters monstrously fast

In the 'pre game chat' phase of an RPG session the other day, people were showing their fantasy figures (as you do) which for me includes this big guy:


This is of course Reaper's Bones version of Cthulhu. When I mentioned that I painted this monster in probably less than an hour overall painting time, some disbelief was expressed. In this post, I'll explain the technique I used to paint Cthulhu by painting another figure using the same technique.

The technique in question is ink staining over a black base coat with a very heavy white dry brush on top of it. Staining ink over this results in an immediate shading effect. Let's show this on a figure of a forest troll. First, the black base coat:


Then, heavy dry brush of white:


And then the colour layers come in. Basically, just flow ink all over the areas that need colour. I use Windsor & Newton inks -- I've put the colors I've used in the photographs below:


And that's really all there is to it. With just two applications of ink (with a day between them to allow it to dry), this figure is pretty much done. I will add some detail to the teeth, nails and fungi like protrusions on the troll's body, but the main part of the figure is finished.

This is not a new technique by any stretch. I know of at least two other people who use it. One is Ed from the venerable and now long disappeared Ed's Hobby Hovel, the other is a French guy from the Lille club who uses it to successfully turn out thousands of 15mm figures for his painting service customers.

Monday, 9 May 2016

My painting desk (2)

The picture in my last post was a bit hazy, so here's a better one with some more explanation. This painting desk is in my garage, and not in the main wargaming room. Otherwise, the wargaming room (which is meant to play games) will rapidly become cluttered.


Going from left to right in clockwise order:
  • Some designs for flags for my 42mm imaginations armies, atop an orange/black box containing a lot of bits, leftovers from conversions etc.
  • A shoebox full of paints - mostly Foundry and Vallejo.
  • A toolbox full of bases of various sizes, shields, and other bits and bobs.
  • GW paint workstation, although it is more a place to put all sorts of junk.
  • Another collection of paint pots, mostly the ones in current use. Mostly Games Workshop paints, some dating back 25 years ;-)
  • A shoebox lid with various figures that still need to be stored away.
  • Main working area in front.
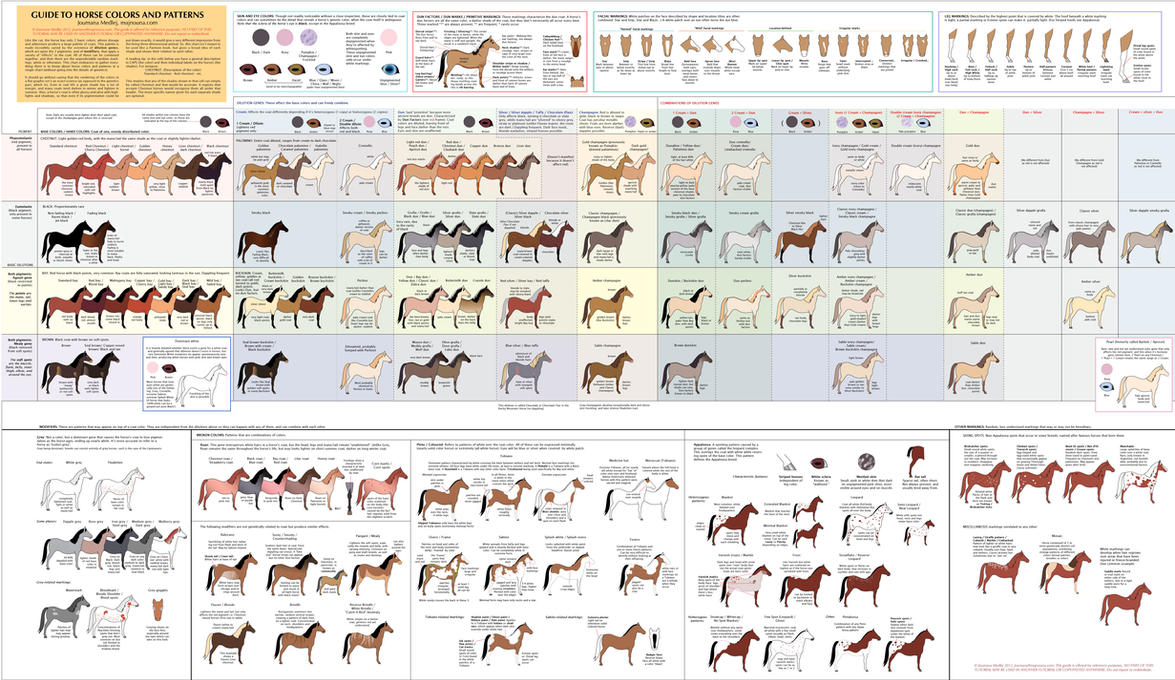
  • Guide on painting horses from Miniature Wargames & Battlegames.
  • Undercoated 42mm Irregular figures.

Saturday, 7 May 2016

My painting desk

I cleaned up and reorganized my painting station. A quick picture shown below ...

Wednesday, 18 November 2015

Then and now - 17 years of painting

I'm currently painting a bunch of 20mm British Paras and thought it fun to contrast my current painting style with my style from 17 years ago. I found two of the same figure pose, one of which I painted yesterday, the other in 1998. Here's them side by side:


The figure on the left is the recently painted one. You can see there has been quite an evolution in my painting style.

The most obvious difference is in the colours of course. Back then I used a combination of Tamiya and Games Workshop paints, nowadays I use Foundry triads (well, diads, as I only use two layers per colour).

Other differences are more subtle, but one other obvious one you can see is that the recent figure is painted in a much bolder style with stark colour contrasts and sharp delineations of colour areas, whereas the one on the right is (except for the face) much more 'natural'.

One other difference which is not obvious from the photo is that the figure on the left took only a quarter of the time to paint than that on the right. And that is of course the reason behind this evolution of painting style: get many painted figures on the table, designed to look good on the table but not necessarily in close up.

Monday, 24 November 2014

Mounted Knights

I am slowly but surely chipping away at my pile of unpainted lead. Below a unit of armoured knights with lances. Figures from Grenadier if I remember correctly, and I bought them somewhere during the nineties during a big sale in my local gameshop.

These days, especially for figures that are meant to be used in large battles, I am happy with quick paint jobs. Applying a base colour, a quick wash or drybrush, and I don't bother painting every small detail.

Friday, 21 November 2014

Oldies

I almost never repaint my old miniatures. First of all, they are a reminder of painting styles at the time, and second, as long as there is lead in the pile, I don't see the point.

The only thing I do is repair and/or redo the base.

The miniatures below needed some minor touching up, so I thought I might as well show them here. All three of them were painted over 20 years ago, if I remember correctly.
The Djinn and Ettin are from Ral Partha, and the flying serpent is a Coatl from Citadel.


Addendum: Both Ral partha models are the "Marid (Genie), model 11-415", and "Ettin, model 11-410", and are listed in the Ral Partha 1995 catalogue, p. 31. A complete scan of the catalogue (along with many other catalogues from the nineties), can be found on dndlead.com page.