We have played a lot of games with my Great Northern War collection, and most of them were some sort of scenario. While this is of course very realistic and commendable, sometimes one gets the urge to just put all the toys on the table and have a go. Which is just what we did over the course of two wargame evenings.
The battle we played was a fictional one, designed to bring the entire collection (minus some odds'n'ends) to the table in a straight up line-em-up-and-go game. Being a somewhat compulsory scenario writer, I could not leave things just like that of course, so I came up with a bit of backstory to put things in perspective. The battle is set in latish 1708, after Lewenhaupt was defeated at Lesnaya and had finally joined the main army, without the supplies he had been escorting over from the Baltic coast. Charles, knowing that wintering without his supplies would be difficult, had turned the army south to the Ukraine, lured by the prospects of waving fields of grain and an alliance with the Ukrainian Cossacks of Mazeppa. In reality, this ended up in a horrifyingly severe winter camp and the siege and defeat at Poltava the year after. In my alternate version of history, Charles manages to catch the Russian army near the village of Tcheploievka (current day
Chapliivka in the Ukraine Sums'ka Oblast - I googled it :) ) where he had just crossed the Desna river on his way south. Knowing that this could be the decisive battle of the campaign, the armies line up to fight on the Ukrainian plain.
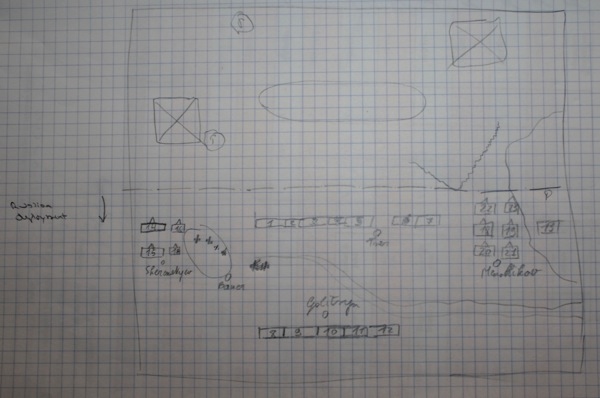
The first players to arrive got the task of coming up with the Swedish, resp. Russian plan. They were provided with a list of forces available and had to divide them in commands (a number of commanders was available to both sides) and draw the deployment of the various commands on a sketch map of the battlefield. Eddy, stepping in to the role of Charles XII, set up with a
schwerpunkt of Swedish infantry on the left flank, screened by the woods left and all of the Swedish cavalry on the right:
 The Swedish plan. A & B are infantry commands, C & D are cavalry
Koen, taking up the baton of Tsar Peter I Romanov, deployed in a more conservative setup, with two lines of infantry (one behind a small stream) and cavalry on either flank:
 The Russian plan. Infantry in the centre, cavalry on the flanks
With the plans set up, Phil joined the Russian side and I played on the Swedish side. I was given command of the infantry (both brigades) by King Eddy while he himself took up the rein of the cavalry commands. The Russian command arrangement was more cooperative, with both Koen and Phil calling the shots all over the army.
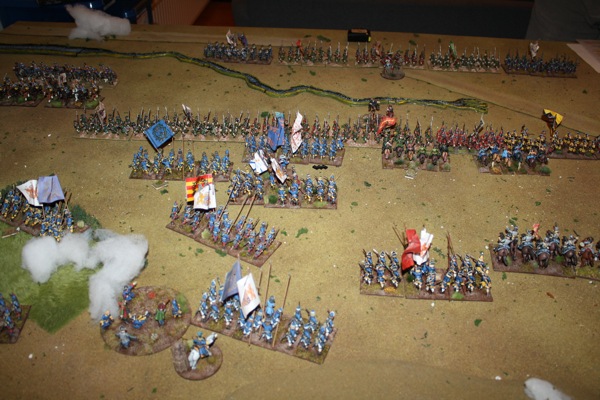
By virtue of a dice roll, first move went to the Swedes. Eyeing the Russian setup, I knew I had a chance of breaking through their infantry lines, as the second line was too far back to give immediate support and the right flank cavalry (left for me) was hemmed in between their infantry and the woods. I could keep said cavalry screened with only one or two infantry battalions while the rest surged forward to assault the Russian line. If I could bring in the assault well and if Eddy managed to keep my right flank clear, we were in with a chance.
 The Swedish deployment
 The Russian deployment
 The Russian High Command feels optimistic about their chances
 King Eddy moving up the cavalry
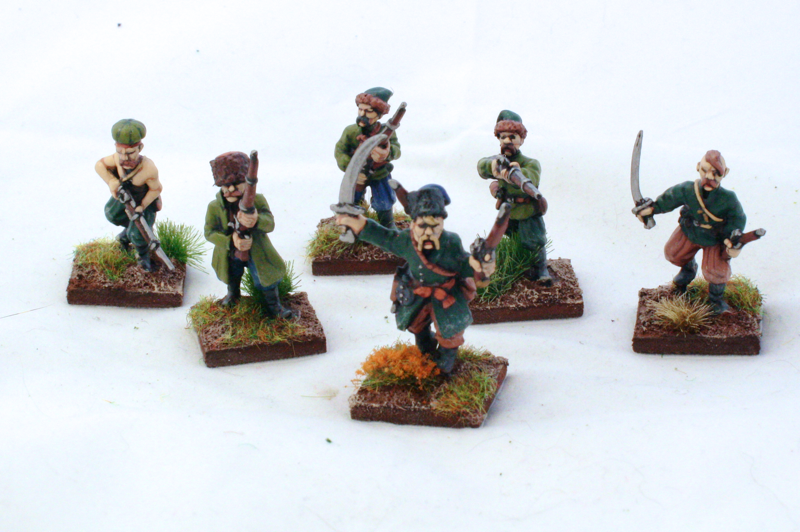
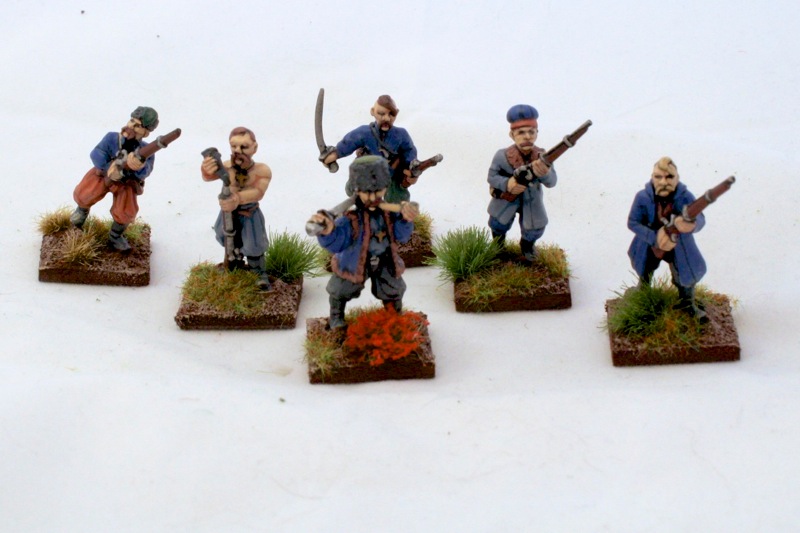
The first two turns of the game saw a general advance of the Swedish infantry (though slower and less organised than I wanted—some failed command rolls), as well as an interesting sideshow by Russian Cossacks. Two squadrons (well, mobs) of Russian Cossacks had decided that their position on the right flank was not suitable for them and had taken it upon themselves to launch into a gallop across the battlefield between the two walls of infantry:
 Adventurous Russian Cossacks can be spied between the two lines, moments before they would be chased off the battlefield
This was of course a target too juicy to leave out there, and a good blast of the Swedish guns and one charge of the Life Guard Grenadiers later, the Cossacks were set off in flight through the Russian lines. In hindsight, this might have been a mistake on my part. While it was fun chasing off the Cossacks with the Guard, it was probably useless—it is highly unlikely the light cavalry would have been able to impress the Swedish cavalry, particularly because they had to cross within easy range of the Swedish artillery for a few turns. Worse yet, chasing after the Cossacks disrupted the Swedish infantry line even more. In fact, due to this and the overall command malaise in the Swedish infantry (General Roos, one of the infantry commanders, managed only one successful command roll during the entire game. The only other times his troops advanced, it was because he Blundered or because the King commanded them.), the Swedish infantry attack devolved into a number of individual battalions struggling forward instead of combining into the steamroller assault I had in mind.
After the pleasant interlude with the Cossacks, things got more serious. Over on the cavalry flank, a swirling melee was developing that would more or less take all game to resolve, with both sides fighting each other to exhaustion (as a good cavalry melee should be). On the infantry front, the piecemeal infantry advance meant that the initial charge against the Russian line was carried out by only a single unit. Luckily, or not, it was the most powerful unit in the Swedish battle order—the grenadiers of the Livgardet till Fot, the Guard Grenadiers. With a cry of
Gå På they crashed into the Tverski regiment, pikes at the ready and swords drawn:
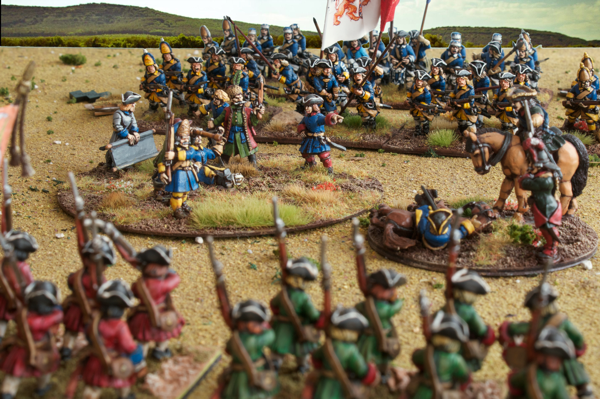
 Swedish Livgardet till Fot crash into the Tverski, supported by scattered Swedish infantry
 A snapshot of the cavalry melee on the Swedish right
The world held its breath as battle was joined between the Swedish and Russian infantry. This was a high stakes fight, as both sides had a commander in the melee. On the Swedish side, Adam Lewenhaupt hoped to erase the stain of his defeat at Lesnaya by being the first to break through the Russian line. On the opposite side, none other than Tsar Peter I Romanov himself had joined the Tverski regiment as he knew how important it was to hold the line. When the shouts had died down and the dust began to settle, the vaunted Guard Grenadiers were seen to be streaming back to their own lines—the Swedish Guard had broken, leaving Lewenhaupt lying wounded on the field! On the Russian side the damage was worse however, as two units in the line (Tverski and neighbouring Schlusselburgski which had supported them) had broken. Worse yet, Tsar Peter had been captured in the melee and brought to the Swedish line by a pocket of grenadiers that had not lost unit cohesion. The Tsar was captured!
 The Swedish have broken through the first Russian line, but can they exploit the break before the second line comes up?
Despite the loss of the Guard, things were now looking up for the Swedes. We had a break in the Russian first line, and the second line, while it had come closer a bit, was still not yet within supporting distance of the first line. The race was now on to see whether we could exploit the break before the second line moved up.
 Russian command still seems optimistic, despite the loss of the Tsar
 The Swedish cavalry commander assuring the infantry command that their flank would be covered
 The crucial phase, seen from the Russian perspective. Note the disjointed Swedish infantry units
With the time pressure keenly felt by all Swedish commanders, infantry assault after infantry assault was thrown against the Russian line. But it was not to be. Because of the haphazard approach of the Swedish infantry, none of the assaults had quite the punch to cause great damage to the Russian line. While another three Russian infantry units were broken (I/Archangelski, Smolenski and Von Repnin's Grenadiers), this exhausted the Swedish infantry. The second Russian line, in a perfectly coordinated manoeuvre, had by now moved up. With the realignment of the right flank cavalry (static in the game till then) and the remainder of the first infantry line, the exhausted Swedes now faced a full line of fresh Russian troops who could easily hold them off with their firepower.
 The godly hand of the Tsar's deputy aligning the infantry lines.
King Charles, whilst being a bit of a battlefield nutcase in general, let his better sense guide him in this battle and promptly signalled the Russian command the intent to negotiate. After much wrangling, it was decided that Tsar Peter would be returned to the Russian lines in return for the safe passage of the Swedish army back across the Desna. The war would not be over this year.
 King Charles and Tsar Peter negotiating the end of the battle
This was a good game and a good Russian victory. While a big component of the Swedish loss was due to the uncoordinated infantry attack (mea culpa—Eddy on the other hand did a great job of keeping the Russian cavalry at bay), another big contribution to the victory was the fact that Phil did not lose his cool when the first Russian line was being assaulted. His response of moving up the second line, pulling back the first line and deploying the cavalry was the perfect game winning countermove. Well played!


