Wednesday 23 March 2011

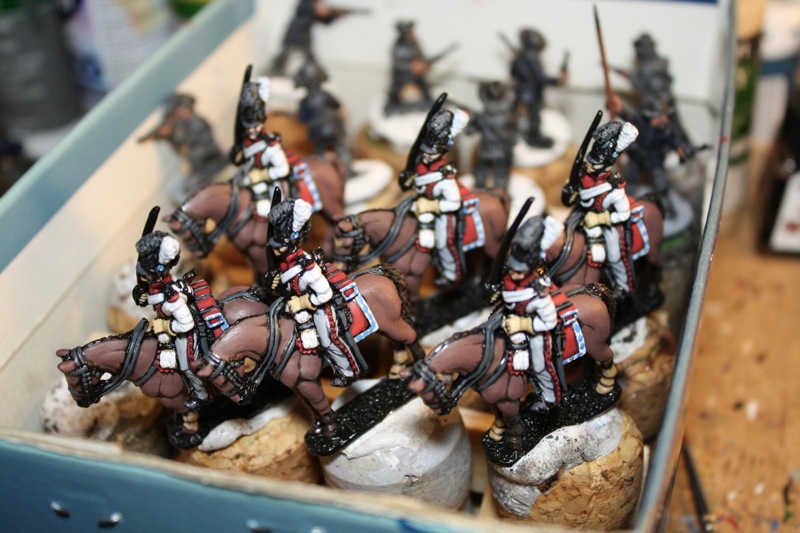
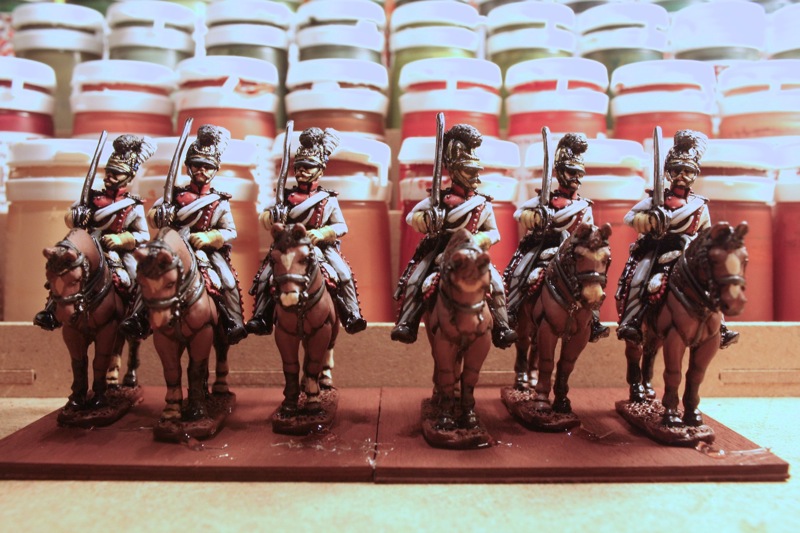
1st Dragoons 'Minucci' - 1809

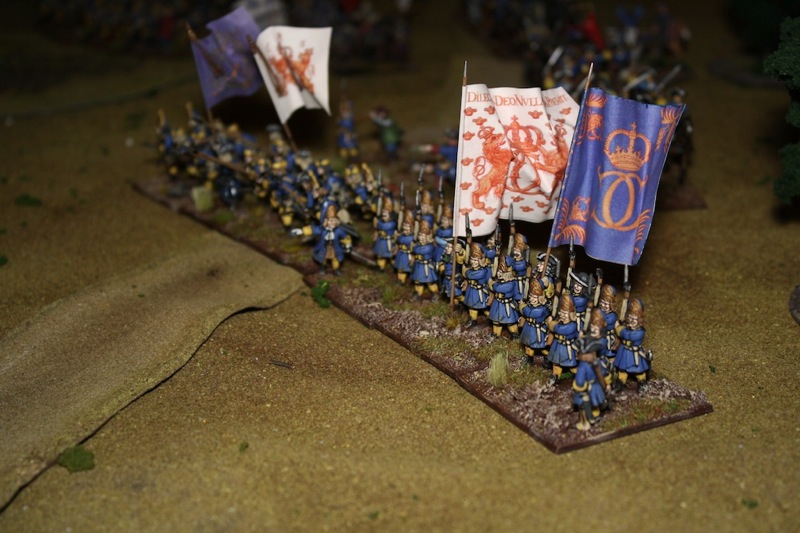
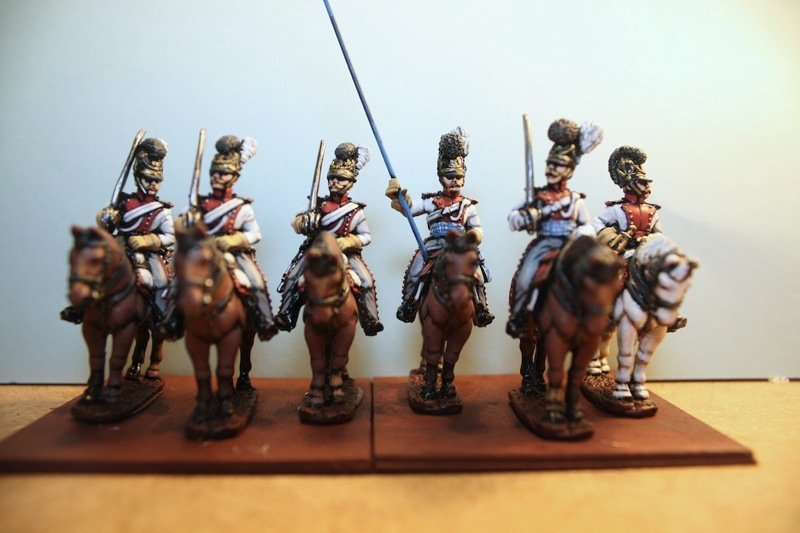
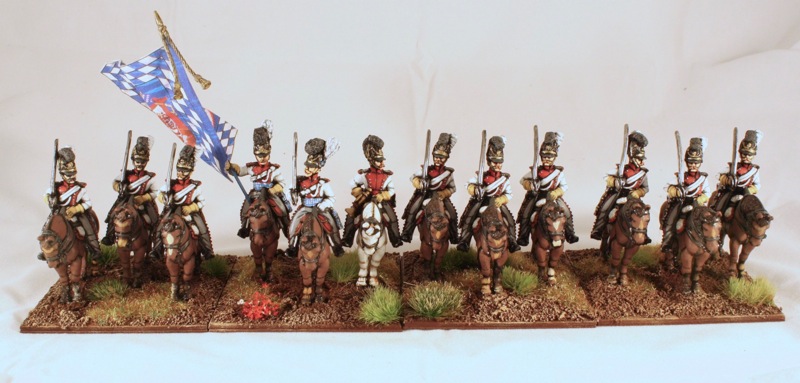
These have been shown in separate, just painted squadrons, but here is the whole regiment as it operated in the 1809 campaign (they had two squadrons in the Crown Prince's 1st Division):

1st Dragoons

The figures are Front Rank, while the flag is from Maverick Models (50mm effect flags on material). Both come highly recommended.

Thursday 17 March 2011

Russians repulse Swedes at Holowczyn!

Update February 2016: Link to Forces document restored.

Yesterday, Eddy and myself played the first in what I hope will be a series of historical scenarios with my Great Northern War collection. As that collection exists of Swedish and Russian armies, the scenario series will focus on Charles XII second Russian campaign of 1708–1709 (_as an aside, if anyone with a better command of English than myself can tell me how to write the genitive of Charles XII, I'd be obliged_ :)). The first scenario visits the battle of Holowczyn where historically Charles took an enormous risk in crossing a river into a swamp in the hopes of defeating a part of the Russian army in detail before the rest could intervene.

We played the battle using Black Powder with all distances reduced to 66% of the values published in the book and using our own Great Northern Powder extensions. Eddy took on the role of Charles XII while I played Russian commander Prince Anikita Ivanovich Repnin. I'm still writing up the scenario (I had no idea whether things would work out -- they did and I'm now writing it up), but these are the forces we used, which are essentially the historical ones (bar a massive renaming of regiments to match my collection) in a 1 wargame unit for 2 historical units scale:

Holowczyn forces (636Kb)

The rest of this (rather large) entry will be a photo report of the battle as we fought it. As you'll see, history was somewhat changed in our refight :).


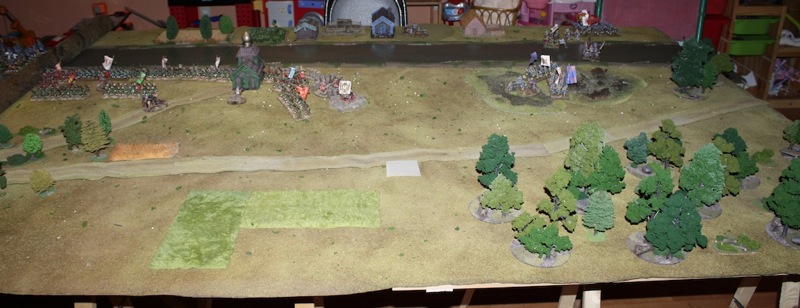
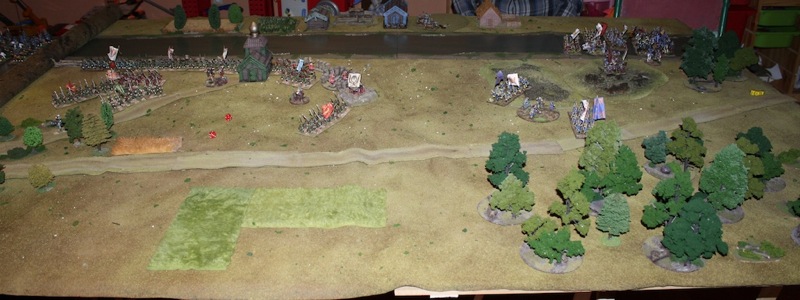
First up is the battlefield at setup. The Russians can be seen on the left, positioned behind their fortifications across the Vabich river from the village of Novoje Selo. The bridge running from there to the Russians' bank is not represented on the battlefield. The Swedish setup sees two battalions already across the river and in the marsh, with the rest following behind.

Holowczyn 001

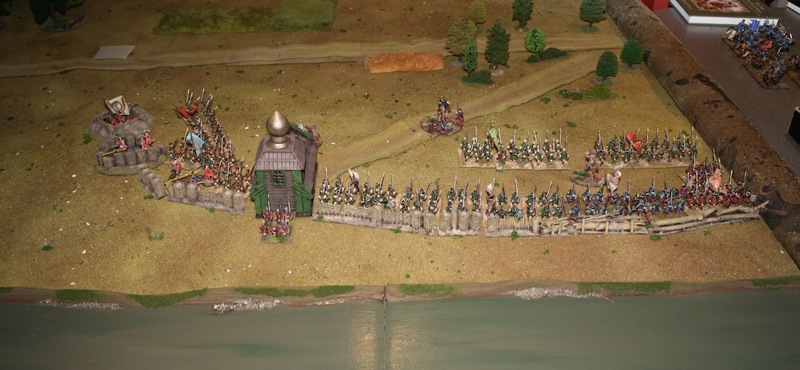
A close up of the Russian position, from the other side as the previous picture:

Holowczyn 002

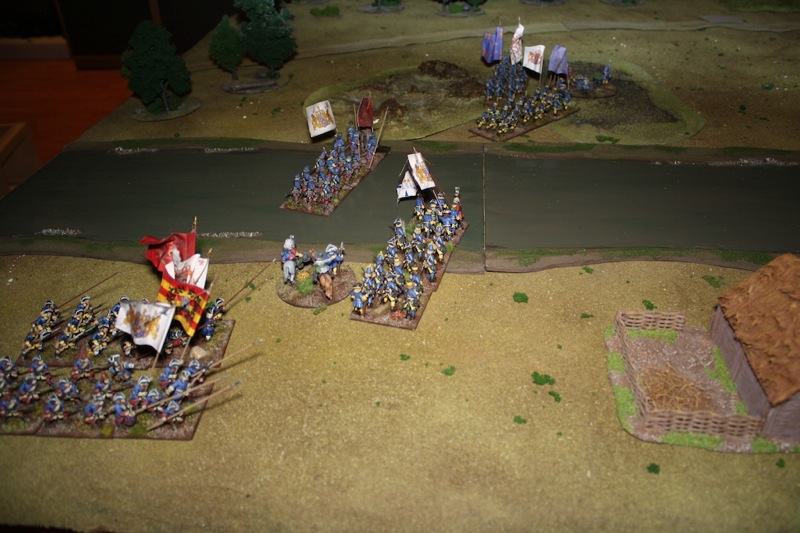
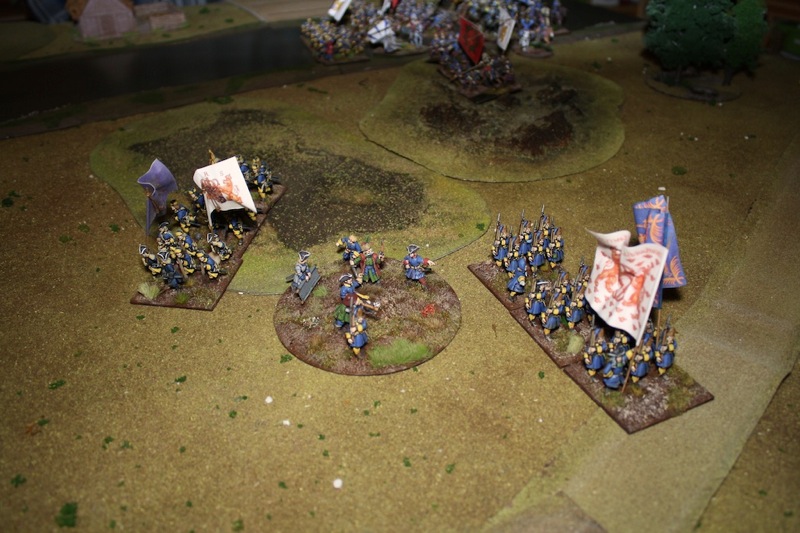
And the same for the Swedish starting position:

Holowczyn 003

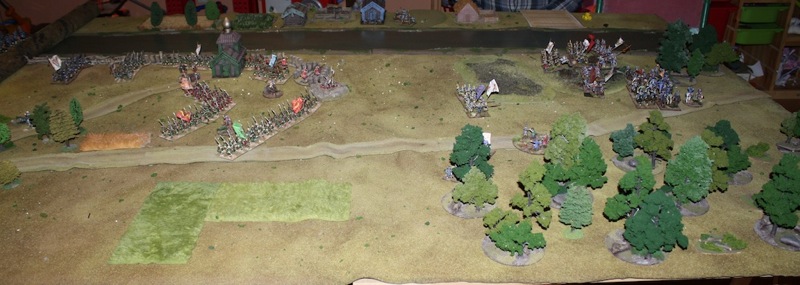
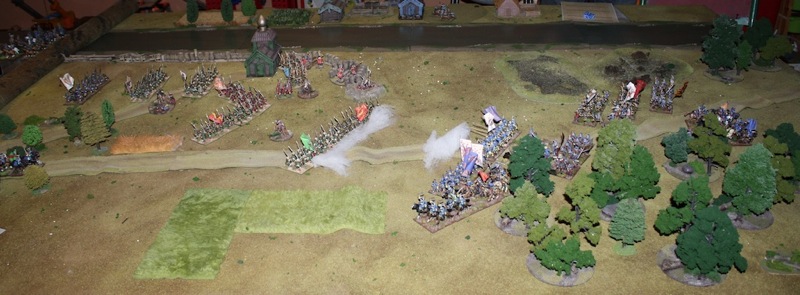
At the end of turn 1 the Swedes had advanced further and brought up their cavalry while the Russians started redeploying. My plan with this was to form a line facing east (facing the camera) extending the now useless fortification line, and hold on for dear life until the Russian cavalry could arrive from the south.

Holowczyn 004

A close up of King Charles (ahistorically depicted in his wounded Poltava guise :) ) leading the Dal regiment and the grenadiers of the Life Regiment out of the marsh:

Holowczyn 005

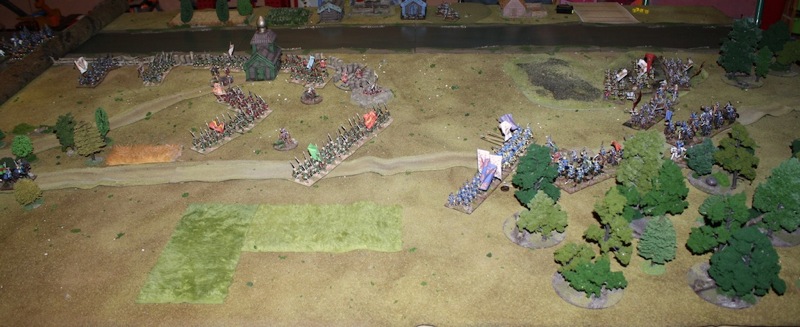
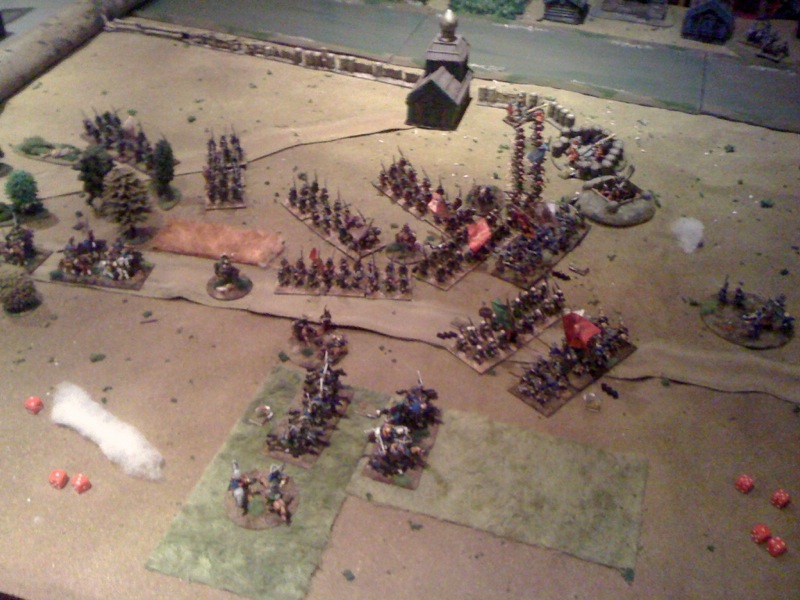
At the end of turn 2, my line was solidifying somewhat while the Swedes pushed on:

Holowczyn 006

A turn later the Swedes were coming very close indeed (though still outside of musket range) while my units seemed to be getting stuck doing bugger all (as the Russians say):

Holowczyn 007

A close up of the _crème de la crème_ of the Swedish army, the grenadier battalion of the Life Regiment:

Holowczyn 008

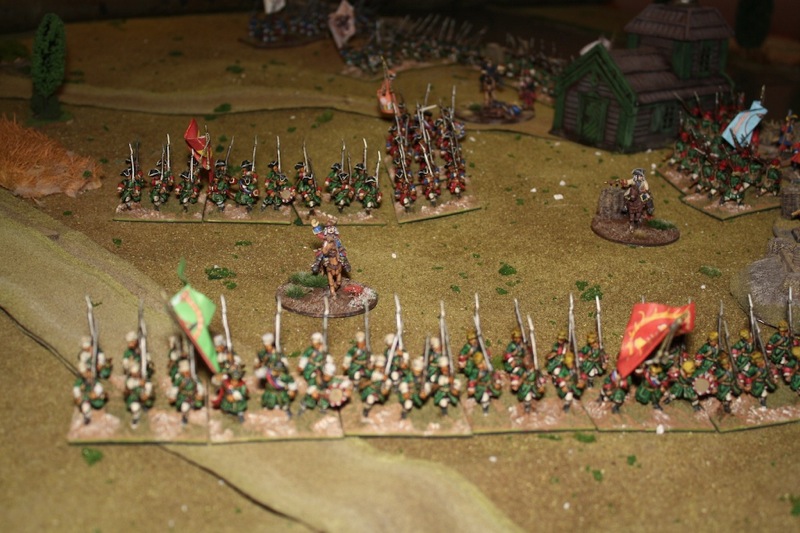
And their somewhat more pedestrian adversaries in the Russian line:

Holowczyn 009

While I did not fancy my chances against a Swedish charge (hence my attempt at forming a second line behind the first) I did know I could outshoot the Swedes as they had less muskets in their battalions than the Russians (and as in fact happened in the real battle for a long time), so I moved the two battalions already in position to musket range and a lively musketry duel developed. The end of turn 4:

Holowczyn 010

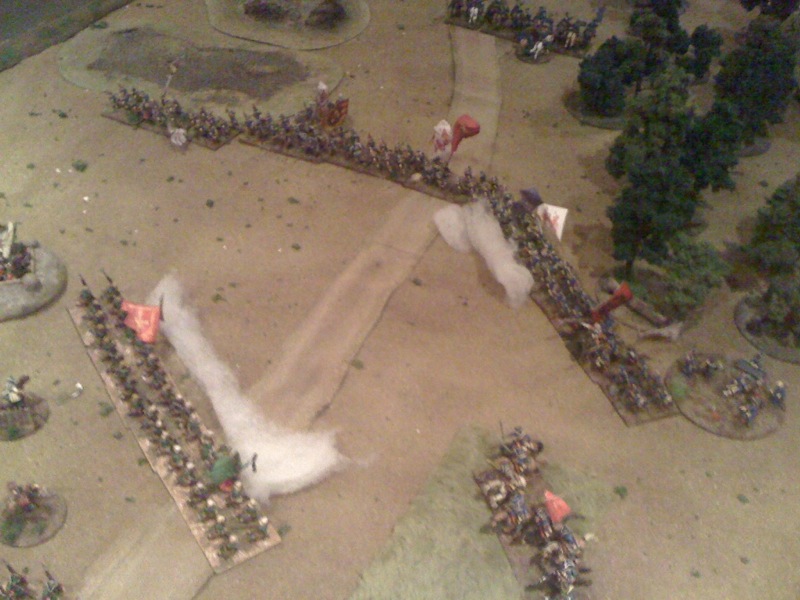
At this point, my camera's battery died, so the next set of pictures is off of my cellphone which you will notice in the lack of quality in these pictures :). The musketry duel mentioned above ended very much in my favour. I had expected and hoped this but the result exceeded all expectations when the brave Russians managed to break none other than the Swedish Guard Grenadiers! This was the result in what would become a pattern for Eddy during the game: of the five break tests he took in the game, four resulted in outright destruction of the unit in question (which had about a 1 in 10 chance of occuring each time).

Eddy withdrew his remaining units outside of musketry range and formed a line ready to charge the Russian infantry. You'll note the absence of the Swedish guard in this picture:

Holowczyn 011

Incidentally, while this all was happening, the eastern flank (towards the camera) was covered by half of Eddy's cavalry (the other half was guarding the northern approaches to the battlefield where a Russian Guard battalion would appear towards the end of the game). These subsequently had a jolly good scrap with my cavalry which was by then arriving from the south (as can be seen in the overview photos as of turn 3). The cavalry battle was however not instrumental in the decision of this battle. What was decisive was this charge of the Swedish infantry:

Holowczyn 012

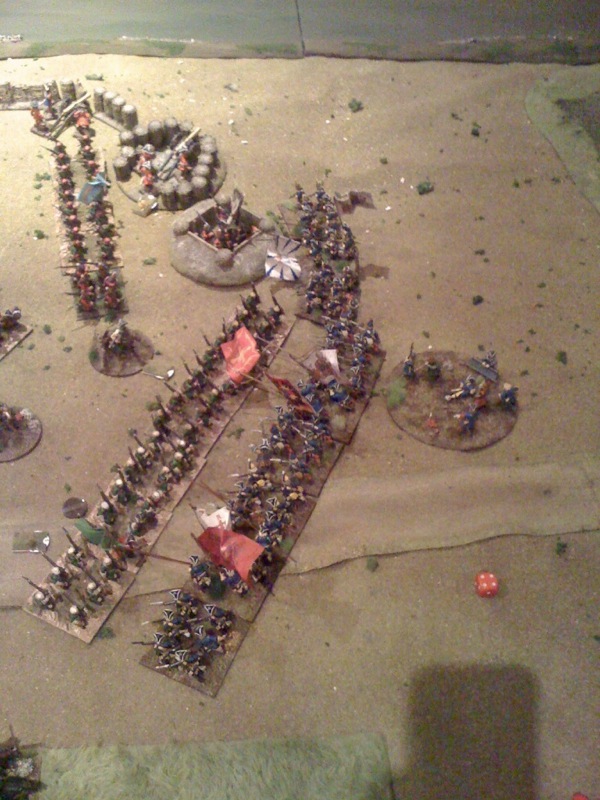
It was very much an all or nothing charge and unfortunately for Eddy ended in the nothing camp (those break tests again). While the Russian line got seriously disordered and pushed back, the Swedes did not break through and lost heart. A Russian victory! The battlefield at the end of the battle:

Holowczyn 013

After the game, we agreed that the scenario worked well and might have gotten a very different result had it not been for Eddy's appaling dice luck in the break tests. I also felt that the rules worked very well - we fought eight turns in three hours time (that's with 14 battalions and 11 squadrons on table) and there was maneuvre, decisions to be taken and exciting action. There's not really much more one wants from a ruleset :)

Friday 11 March 2011

Wet Paint: 2nd Squadron, 1st Dragoons, Bavaria 1809

And the next set of Dragoons is done:

Bavarian 1st Dragoons 2nd squadron

Obviously, basing and flag still have to be done. For that last, I've ordered some sample flags from Maverick Models. I ordered the 50mm Effect flags on material. Once they arrive, I'll stick one onto the ensign here and photograph him along with the entire unit.

Wednesday 9 March 2011

Uncharted seas game 08/03/2011

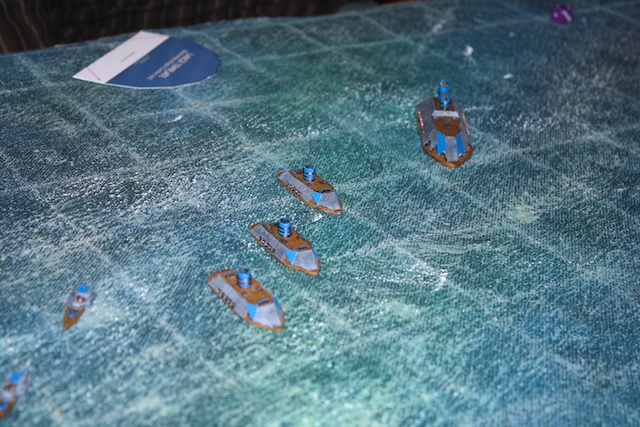
Yesterday Alan, Eddy and myself played a game of Uncharted Seas. We didn't have a scenario but just lined up three fleets and had at it. The three fleets were more or less evenly matched (I used the models I had available and did not bother to work out the point values). Each fleet consisted of a basic starter fleet with some additions (cruisers or flagship):

* Dwarves (Eddy): 1 battleship, 2 assault cruisers, 3 cruisers and 6 frigates
* Orcs (Alan): 1 battleship, 1 battlecruiser, 1 assault cruiser, 3 cruisers, 6 frigates
* Humans (me): 1 battleship, 1 flagship, 3 cruisers, 6 frigates

The game for the Dwarves can be mentioned quite succinctly: they spent most of the game catching up to the action and in the end contended themselves with tangling with the Orcish battlecruiser that had split off the main Orc fleet. The Dwarves managed to sink the battlecruiser by the end of the game.

For my part, I started on the opposite side of the table as the Dwarves so I did not have any interaction with them during the game (we played on an 8x6 foot table). Most of the reason for this was a decision I made after turn one to change the axis of advance of my fleet by 90 degrees to concentrate on the Orcs. The reason for this was that I saw myself ending up between the Orc and Dwarf fleets being shot at by both had I continued on my initial course, and I did not quite fancy such a fate.

So, the main battle for me would be against the Orcs. After we closed up a bit, the frigates got into play when Alan launched his three brace of frigates in an aggressive move towards my cruisers which were leading the fleet. While my frigates had been lurking behind my battle line ready to counterattack such a move -- and did -- by the end of the frigate action, I was down one cruiser which had been decrewed by an assaulting frigate (with some help of long range fire of the Orc battleship). The end of this phase saw all frigates of both sides wiped out (the intrepid frigate that had boarded and decrewed my cruiser was summarily overrun and sank by the Tears of the Empress' Favorite Concubine, my battleship), two of the Orc cruisers suffering medium damage and one of my cruisers out of action.

Then it was time for the big boys to come out and play. Alan was moving his fleet on a more or less regular (these were Orcs, after all) formation, with his battleship closest to my fleet and the cruisers and assault cruiser in line abreast next to it. He initially did have the wind against him (one factor in my decision to go for the Orcs. I also would like to publicly deny any involvement of my clerics in the change of wind direction -- the mere thought is preposterous :) ) but it turned favourably a bit later only to turn straight into the Orcs' faces in the final turn of the game. My own fleet was in its classic battle line astern: the (now) two cruisers leading, with the Tears and lastly the Empress' Cynical Smile (the flagship) following.

While the main fleets were approaching, during and after the frigate action, I was somewhat apprehensive of the Orcish guns and the fact that they are forward firing: this means that for an Orc ship, moving closer to the enemy and presenting your optimum firing stance are the same thing, as opposed to my ships, whose strength is their broadsides. I shouldn't have worried though, as the reason why my battle line is the classic deployment for the humans is that the cruisers, leading the line, take the long range fire on the approach while the big bruisers (the 15 and 14 dice broadsides of the Empress and Tears) close up relatively unscathedly to deliver their fire. And that is exactly what happened: my cruisers took some damage closing in (less than expected because of the intervening frigates and small fore arcs of the Orc ships) while Alan's battleship got slightly dinged by (long range) fire from my cruisers and battleship. Then my two big ships came into close range of Alan's battleship (blithely ignoring the Orc cruisers as they would be easy prey once the battleship was gone) and blew it out of the water with their massive broadsides. The aforementioned turning of the wind in the last turn helped as it meant the cruisers suddenly did not have the move to ram my battleships, which might have become nasty. Scratch one Orc fleet.

Some pictures of the game:

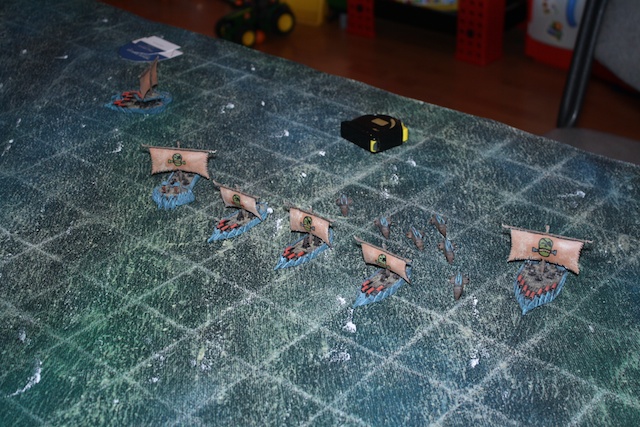
The Orc fleet sails onto the table:
Uncharted Seas 08032011  Photo 1

Part of the Dwarven fleet:

Uncharted Seas 08032011  Photo 2

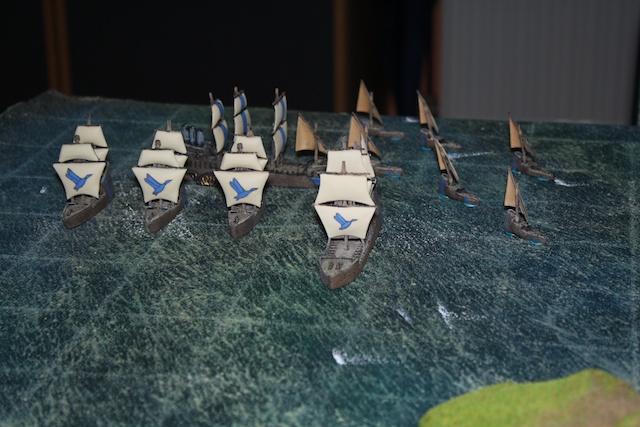
The Human fleet after making its 90 degree turn, with the cruisers racing to overtake the battleship and take their place in the van:
Uncharted Seas 08032011  Photo 3

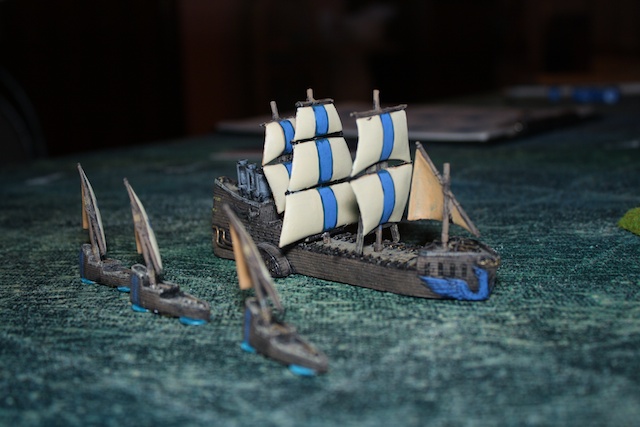
The Empress' Cynical Smile serenely sails to its place in the line, sheltering a frigate squadron:
Uncharted Seas 08032011  Photo 4

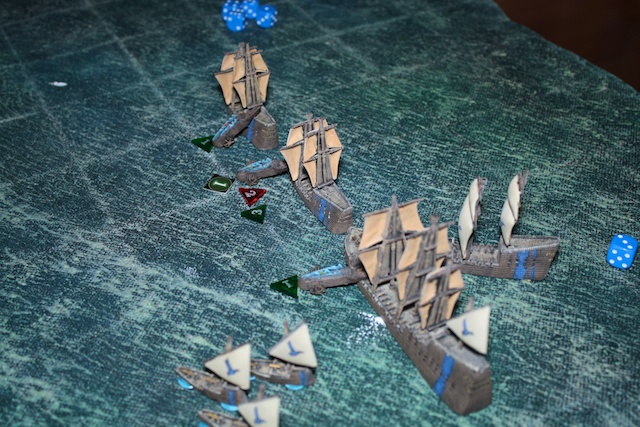
The high point of the frigate action - Orc frigates in an all-out ramming attack. The center one would decrew the Human cruiser:
Uncharted Seas 08032011  Photo 5

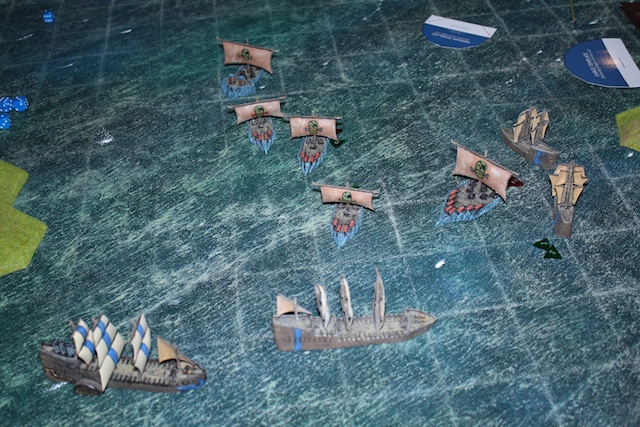
The main battle fleets in close contact. Human cruisers have turned in behind the Orc battleship which is about to be subjected to the broadsides of the Human big ships:
Uncharted Seas 08032011  Photo 6

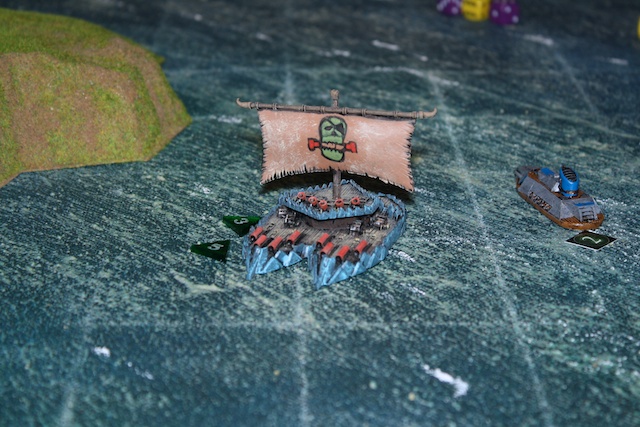
Action on the other side of the table: the Orc battlecruiser in its final moments, besieged by Dwarven firepower:
Uncharted Seas 08032011  Photo 7


Thursday 3 March 2011

Step by step: painting Bavarian dragoons

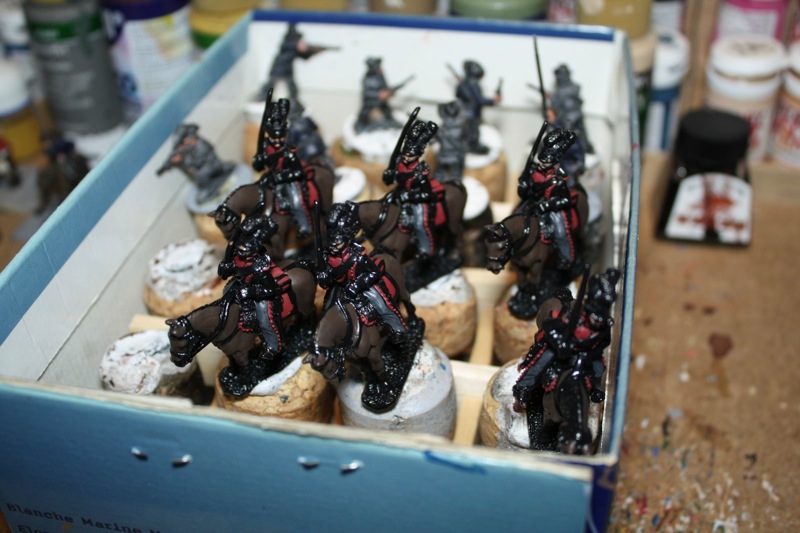
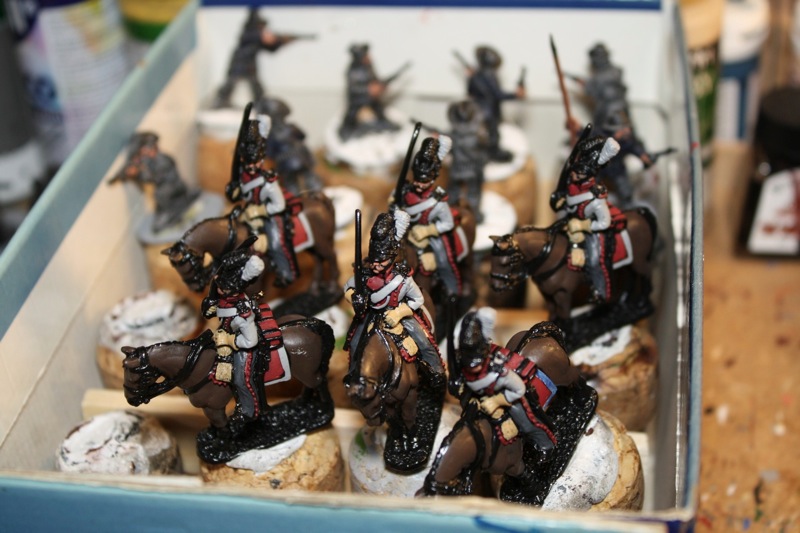
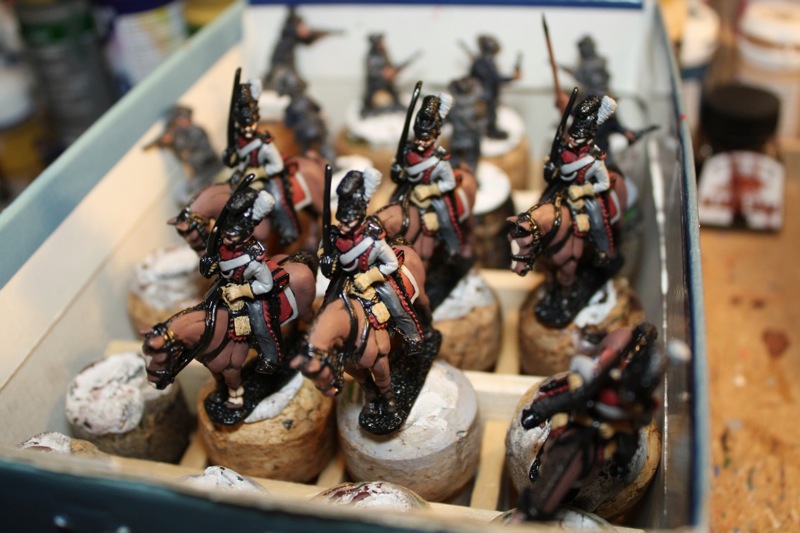
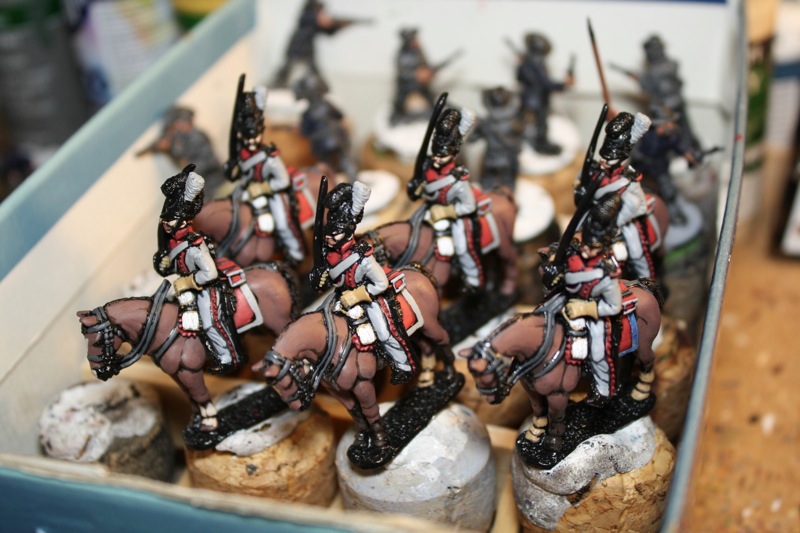
While I was painting the 1st Dragoons, I took photos of proceedings at regular times. The idea is to document how I approach painting these days, which is a lot different than how I used to.

When I paint these days, it is with the idea of painting armies of figures, not individual figures. I've got a full article on army painting brewing somewhere in the back of my mind, so consider these pictures as an introduction to army painting, my way. Most important bit to take away from this (and it is shown in the pictures as well): nothing (and I do mean nothing) gets more than two layers of color (not counting the black undercoat).

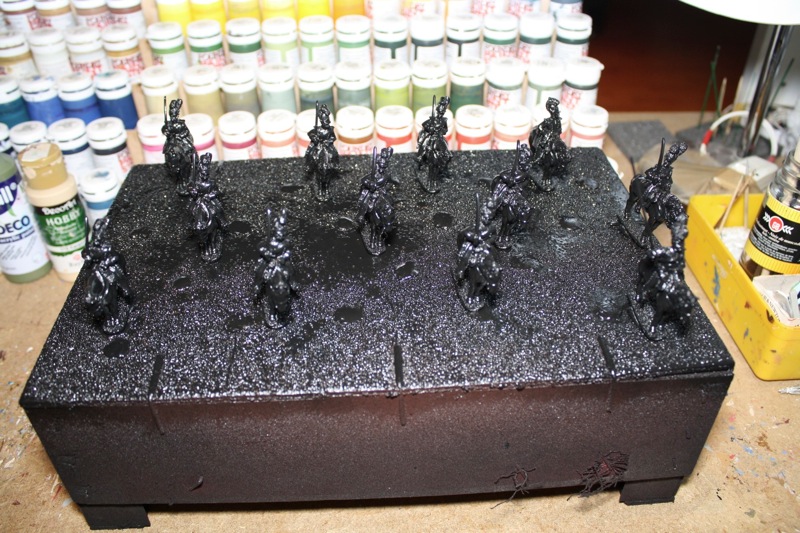
The full regiment base coated:

IMG 1969

Horses, flesh, grey and red first layer done:

IMG 1970

Everything else first layer done:

IMG 1971

Horses, flesh and reds final layer done:

IMG 1972

Grey overalls and horse furniture final layer done:

IMG 1973

Everything done except metals:

IMG 1974

Everything done:

Bavarian 1st Dragoons 1st squadron

Feel free to scrutinize :)

Wednesday 2 March 2011

Building fortifications - part 1

I'm planning on doing a game on the battle of Holowczyn soonish. One of the main features of that battle, apart from the insane opposed river crossing into a marsh by the Swedish, were the fortifications thrown up by the Russian infantry. So I decided I needed some of those and started building.

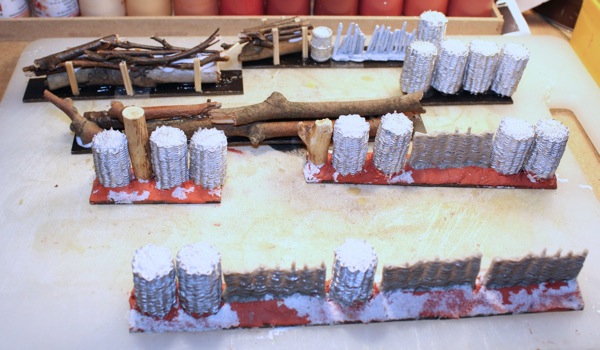
Fortifications in the early 18th Century (Holowczyn was fought in 1708) - and much of the 'Black Powder' era at that - probably consisted of gabions, lenghts of plashing and whatever woody bits were at hand. Well, that or what I happened to have at hand, which was:

Building field fortifications 3

The idea is that the further along the fortifications, the more hurried they become. So first there's gabions, then wood logs and branches stacked between stakes, then just logs stacked. The Russian army at Holowczyn was of course much more prepared and dug in than that, but sometimes historical reality has to bow to the rigors of time and bits availability :).