The game is based on the action around Arnhofen, Abensberg and the Seeholz (trust the Bavarians to name a wood after a lake) on April 19th of 1809. This was, after the Austrians crossed the Isar at Landshut against moderate opposition from Deroy's III Division (Bavarian), the first action in the 1809 campaign featuring Bavarians engaging the Austrian invader. While the action on the day was more of an encounter battle, with reinforcements arriving during the day for both sides, the wargame was a more classic set up, with part of the forces deployed on table and the rest moving onto the table at the start of the game.
Yesterdays game was played with a full house of players: Eddy and Phil took the Austrians while Alan and myself played the Bavarians (helped for one turn by my daughter :) ).
The Austrian players decided to deploy their on table command on the far side of the Seeholz woods, aiming to move to a defensible position at the edge of the fields below them and waiting for the arrival of their second brigade moving up the table. The Bavarian cavalry deployed behind the hills, with the Chevaulegers in skirmish formation and the Dragoons in column along the road, ready to dash forward should the need arise.
And so, as distant gunfire rolled across the hills (the battle of Teugn-Hausen was fought at the same time historically), the armies set out to engage each other.
The contribution of the Bavarian cavalry brigade to the following battle is easiest dealt with. Due to a remarkable lack of initiative from the brigade commander (read: bad command rolls throughout the evening) the cream of the Bavarian horse did not participate in the action, apart from some ineffectual shuffling about. While their mere presence did keep the Austrian Dragoons stationary for most of the game, one imagines that the brigade commander would have been spoken to in quite stern tones by his division commander later in the evening.
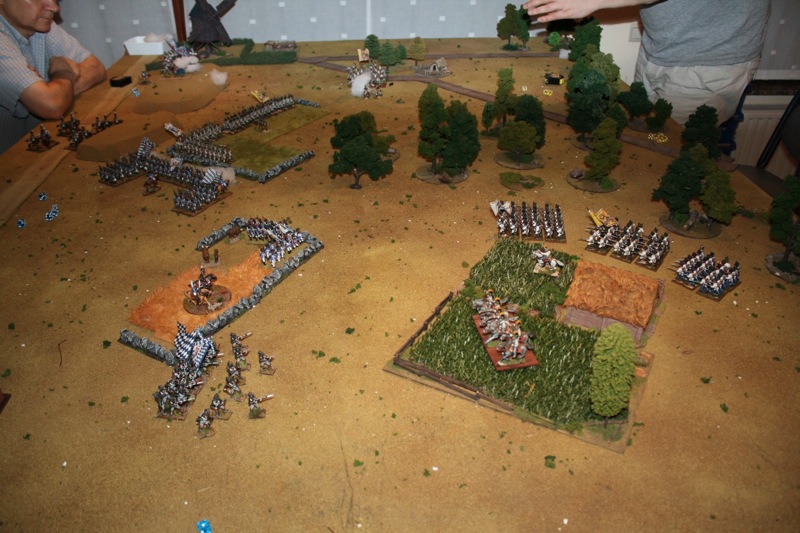
The rest of the battle developed as two separate fights. On the Bavarian left, the Austrian battalions of the Kaiser regiment (1IR) were attacked by half of the Bavarian infantry brigade, while on the right, the Lindenau regiment (29IR) tussled with the other half of the Bavarian infantry. The Bavarians, having the advantage of interior lines, were able to move units between both assaults while the Austrians, being separated from each other by the Seeholz forest, had to fight their individual battles by themselves. This is a picture of the initial stages of the battle, where the left flank fight was already underway while the right was still maneuvering:

When the smoke and dust settled and stock was taken of the situation by the end of the wargame evening, the Austrian brigade under Thierry was found to be broken. The brigade under Richter was still engaged but had one unit broken, one lost in the woods and had just had the brigade commander killed (we forgot that yesterday :) ). The Bavarian cavalry, on account of not doing much at all, was in still in perfect condition. The Bavarian infantry brigade, having bore the brunt of the fighting (well, all of it, really) was also broken (every single unit in it was shaken at the end of the last turn). So, in the spirit of the historical battle, the wargame was declared a hard fought draw, with maybe a slight advantage to the Bavarians. But then again, I played with the Bavarians so I would say that wouldn't I?
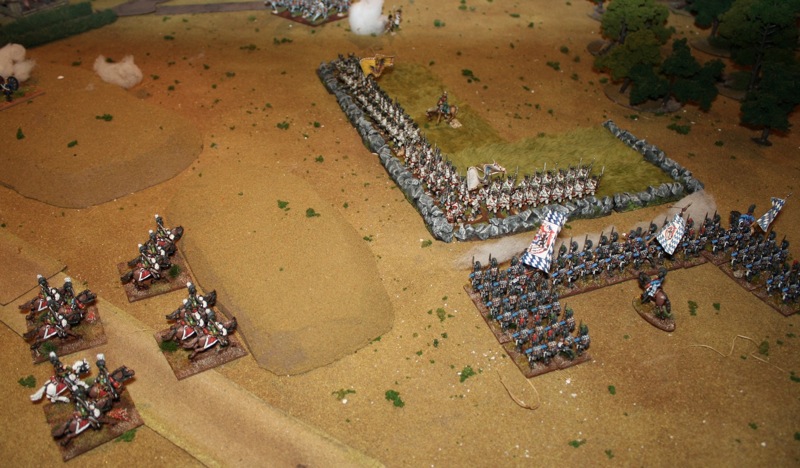
I'll leave you with some pics from the game. First up is the textbook attack of three Bavarian battalions on the left flank. The rightmost battalion would not participate in the final melee but move to the right flank to support the fight there.

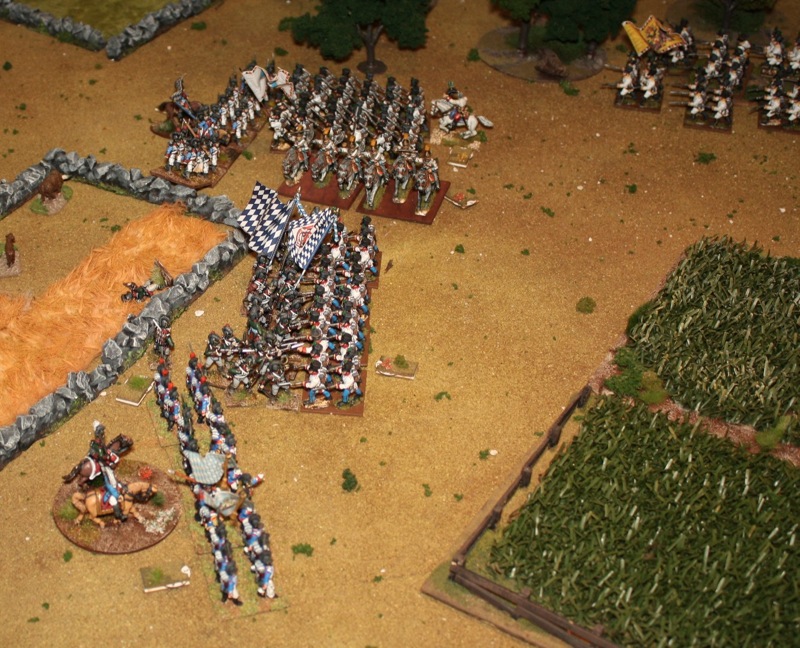
Next is the situation on the right flank at the end of the game. The Austrian battalion engaged at the top of this photo and accompanied by the brigade commander was broken in that melee.

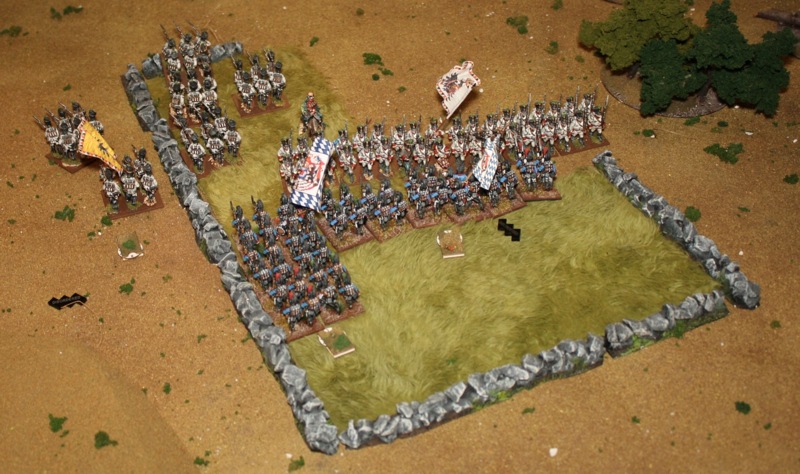
And finally the end at the left flank:

The scenario for this game will be posted once I've drawn some maps for it :).
