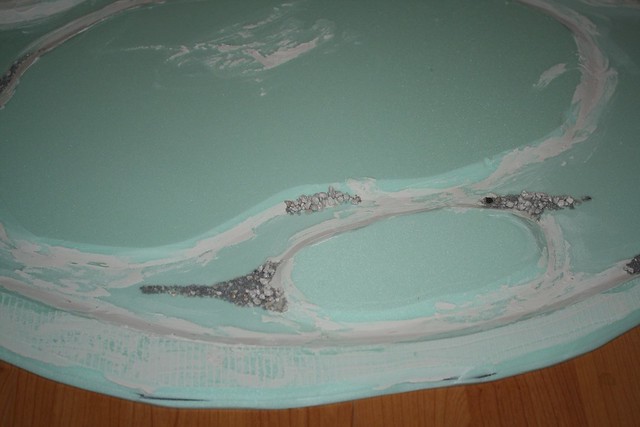
After cutting and glueing the river pieces, the next step was to level the banks a (tiny little) bit using filler (I used bog standard Polyfilla). The filler also serves to level out scrapes and hollows in the foam of the banks, as well as the grooves where I used the foam upside down (remember, the foam I used is meant to be used under laminate flooring and can be glued to the ground - the underside is grooved to provide grip for the glue).
The next step is to glue a mixture of various grades of stones in the river, along the banks and in areas where the stones might collect due to the way the river flows. This is glued using simple white glue.

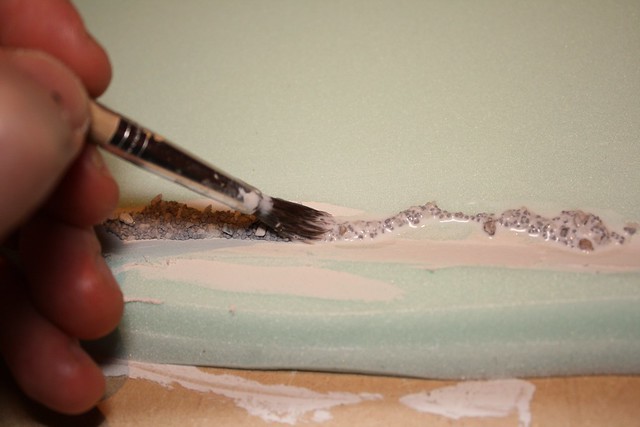
After this glue had dried, I decided to strengthen the bond of the stones to the foam by 'washing' them again with diluted glue. I used a mixture of about 1:1 glue to water (the exact ratio is undetermined - I just throw water and glue together rather haphazardly) and slathered the stones liberally with this:

The stones are a mixture of actual model railroad gravel of various grades and (unused) kitty litter, by the way.
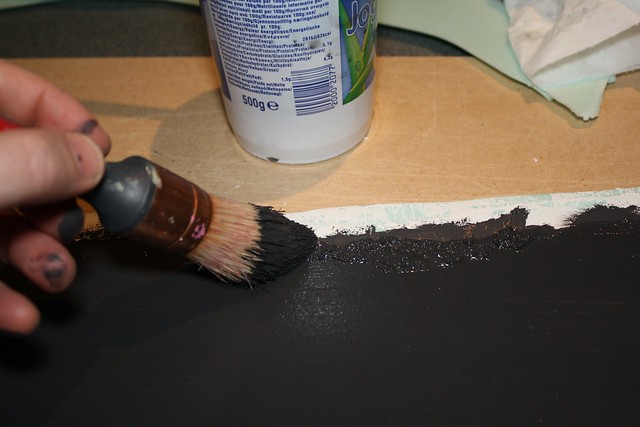
After this second coat of glue has dried, the first coat of paint goes on the boards. Normally I use spray paint to provide the first coat on scenery items, but the spray paint I use eats the foam (I tested on a scrap piece). So, I mixed up a very dark shade of brown (which actually looks black in the photos) and painted the river boards with a big brush (that's important - it goes fast that way :) ):

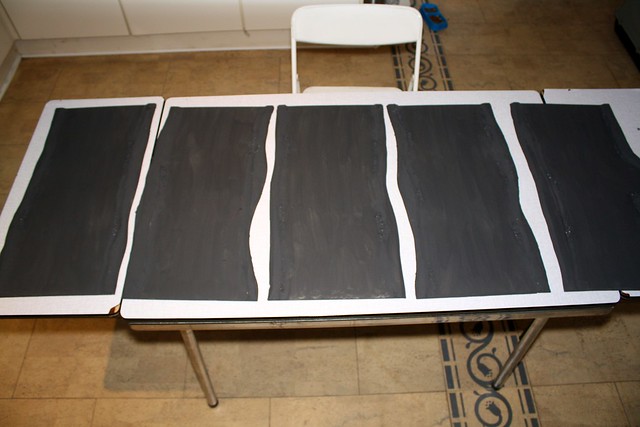
And that's the state the river boards are in now - first coat of paint is on:

That's it for now, but the story will be continued :)

No comments:
Post a Comment