Yesterday, Eddy and myself played the first in what I hope will be a series of historical scenarios with my Great Northern War collection. As that collection exists of Swedish and Russian armies, the scenario series will focus on Charles XII second Russian campaign of 1708–1709 (_as an aside, if anyone with a better command of English than myself can tell me how to write the genitive of Charles XII, I'd be obliged_ :)). The first scenario visits the battle of Holowczyn where historically Charles took an enormous risk in crossing a river into a swamp in the hopes of defeating a part of the Russian army in detail before the rest could intervene.
We played the battle using Black Powder with all distances reduced to 66% of the values published in the book and using our own Great Northern Powder extensions. Eddy took on the role of Charles XII while I played Russian commander Prince Anikita Ivanovich Repnin. I'm still writing up the scenario (I had no idea whether things would work out -- they did and I'm now writing it up), but these are the forces we used, which are essentially the historical ones (bar a massive renaming of regiments to match my collection) in a 1 wargame unit for 2 historical units scale:
Holowczyn forces (636Kb)
The rest of this (rather large) entry will be a photo report of the battle as we fought it. As you'll see, history was somewhat changed in our refight :).
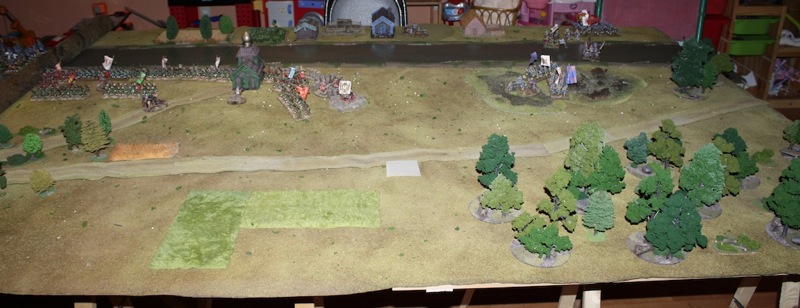
First up is the battlefield at setup. The Russians can be seen on the left, positioned behind their fortifications across the Vabich river from the village of Novoje Selo. The bridge running from there to the Russians' bank is not represented on the battlefield. The Swedish setup sees two battalions already across the river and in the marsh, with the rest following behind.
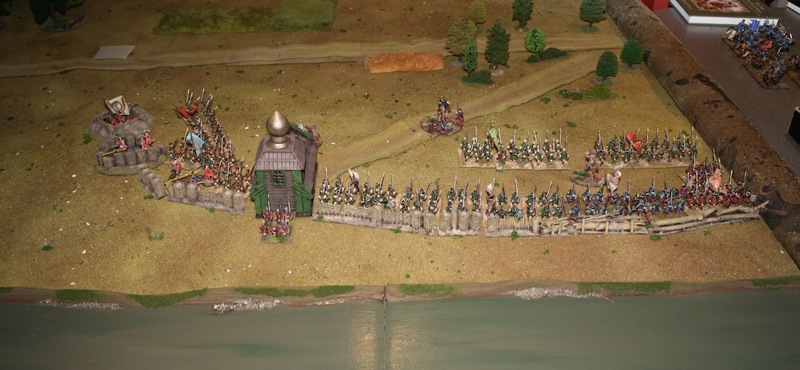
A close up of the Russian position, from the other side as the previous picture:
And the same for the Swedish starting position:
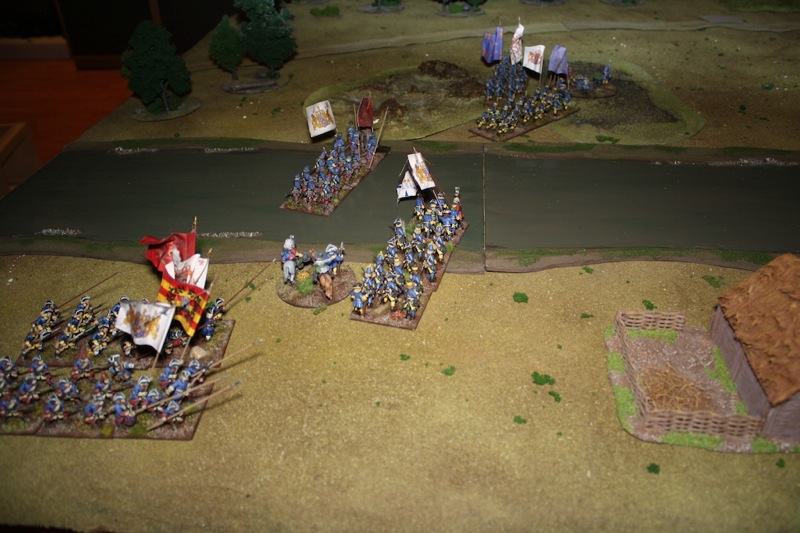
At the end of turn 1 the Swedes had advanced further and brought up their cavalry while the Russians started redeploying. My plan with this was to form a line facing east (facing the camera) extending the now useless fortification line, and hold on for dear life until the Russian cavalry could arrive from the south.
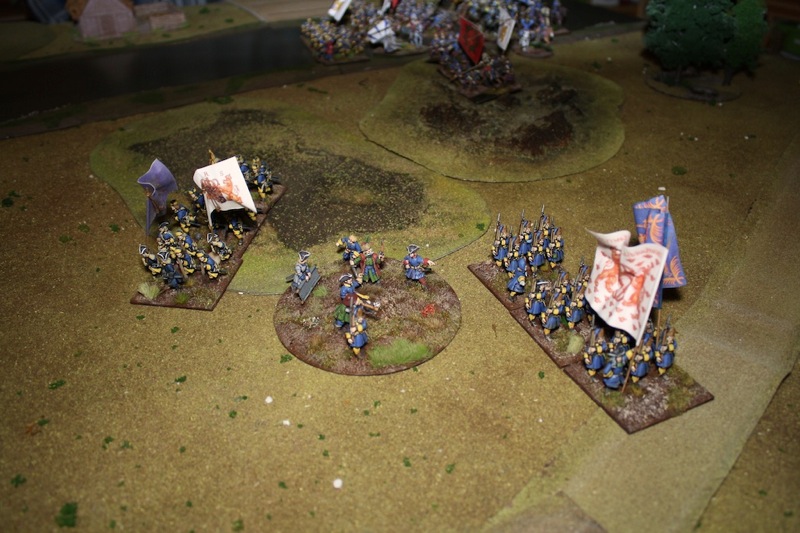
A close up of King Charles (ahistorically depicted in his wounded Poltava guise :) ) leading the Dal regiment and the grenadiers of the Life Regiment out of the marsh:
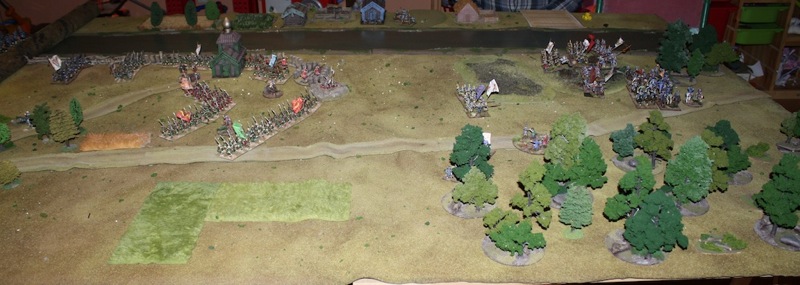
At the end of turn 2, my line was solidifying somewhat while the Swedes pushed on:
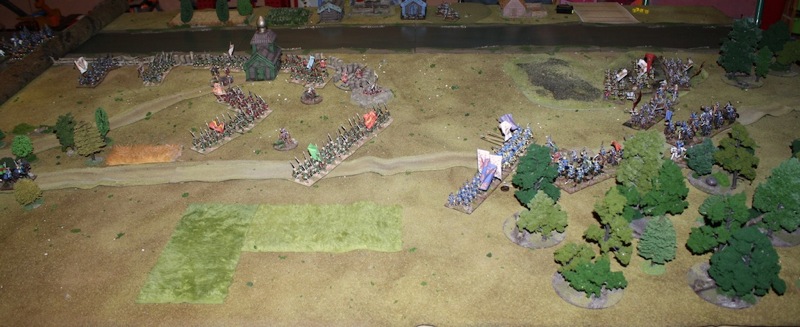
A turn later the Swedes were coming very close indeed (though still outside of musket range) while my units seemed to be getting stuck doing bugger all (as the Russians say):
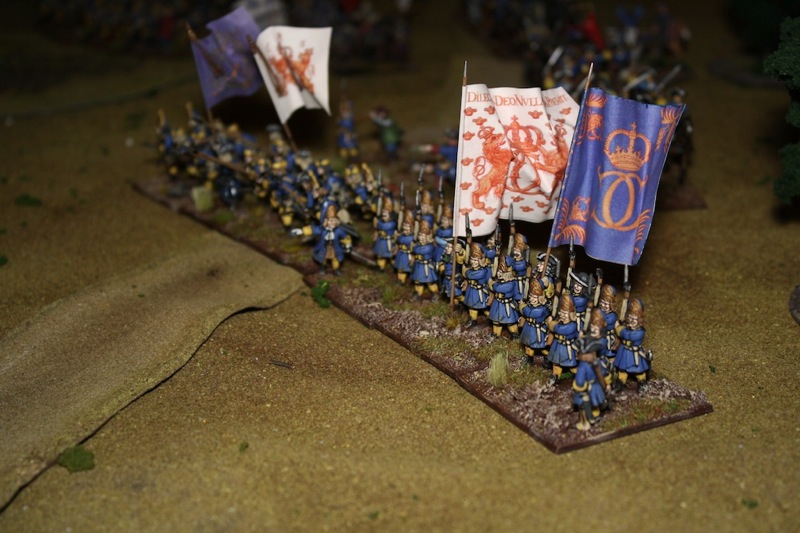
A close up of the _crème de la crème_ of the Swedish army, the grenadier battalion of the Life Regiment:
And their somewhat more pedestrian adversaries in the Russian line:
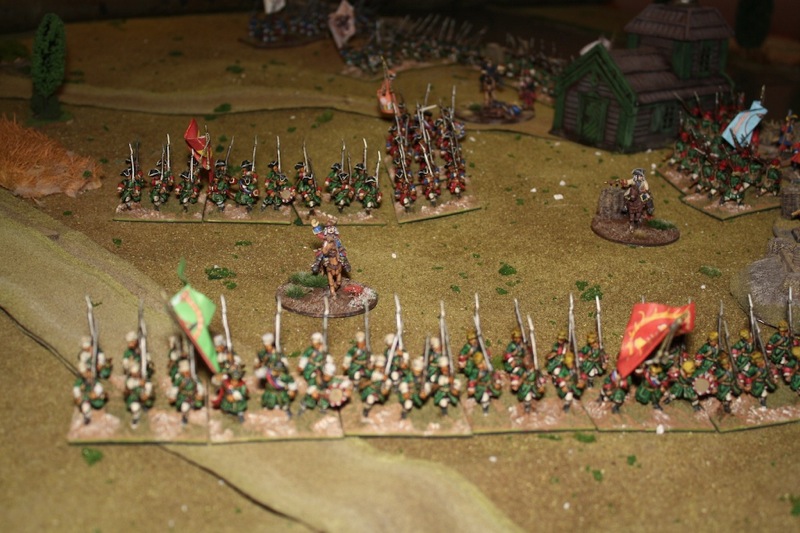
While I did not fancy my chances against a Swedish charge (hence my attempt at forming a second line behind the first) I did know I could outshoot the Swedes as they had less muskets in their battalions than the Russians (and as in fact happened in the real battle for a long time), so I moved the two battalions already in position to musket range and a lively musketry duel developed. The end of turn 4:
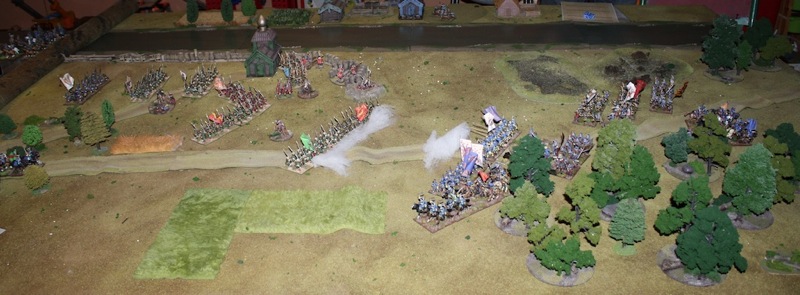
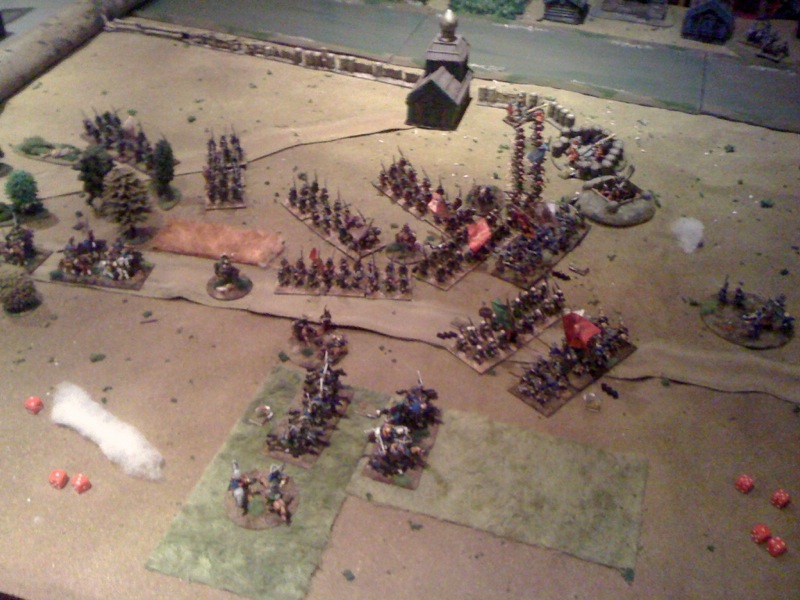
At this point, my camera's battery died, so the next set of pictures is off of my cellphone which you will notice in the lack of quality in these pictures :). The musketry duel mentioned above ended very much in my favour. I had expected and hoped this but the result exceeded all expectations when the brave Russians managed to break none other than the Swedish Guard Grenadiers! This was the result in what would become a pattern for Eddy during the game: of the five break tests he took in the game, four resulted in outright destruction of the unit in question (which had about a 1 in 10 chance of occuring each time).
Eddy withdrew his remaining units outside of musketry range and formed a line ready to charge the Russian infantry. You'll note the absence of the Swedish guard in this picture:
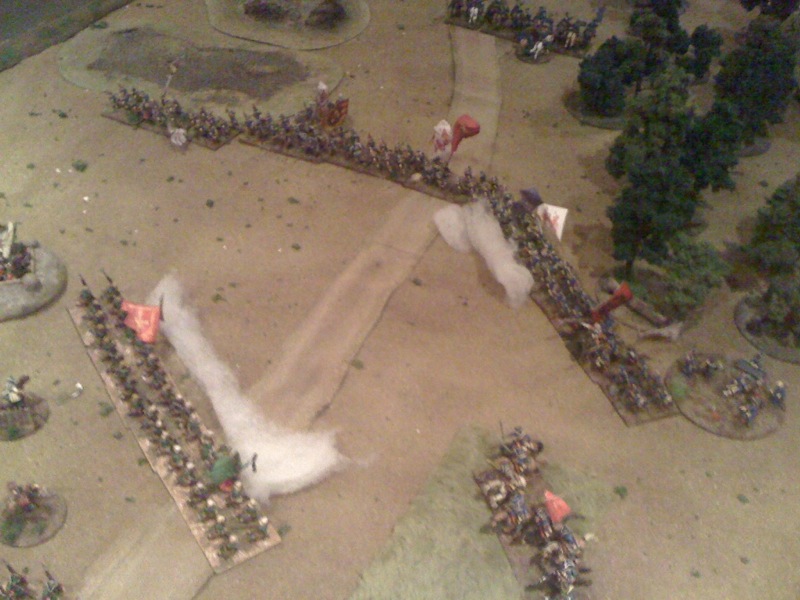
Incidentally, while this all was happening, the eastern flank (towards the camera) was covered by half of Eddy's cavalry (the other half was guarding the northern approaches to the battlefield where a Russian Guard battalion would appear towards the end of the game). These subsequently had a jolly good scrap with my cavalry which was by then arriving from the south (as can be seen in the overview photos as of turn 3). The cavalry battle was however not instrumental in the decision of this battle. What was decisive was this charge of the Swedish infantry:
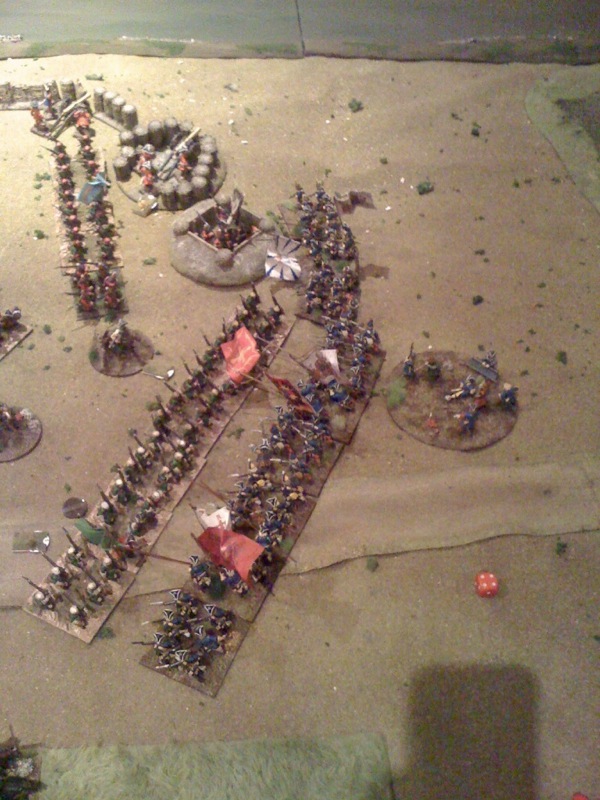
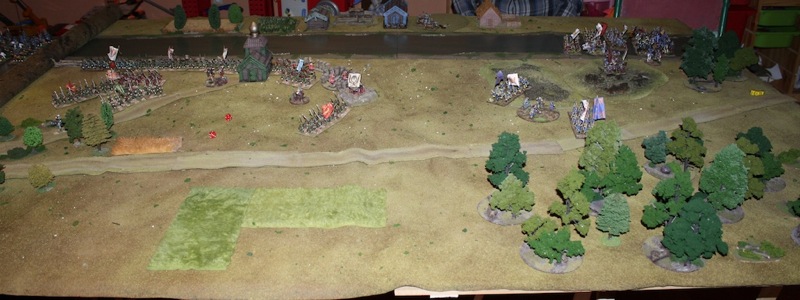
It was very much an all or nothing charge and unfortunately for Eddy ended in the nothing camp (those break tests again). While the Russian line got seriously disordered and pushed back, the Swedes did not break through and lost heart. A Russian victory! The battlefield at the end of the battle:
After the game, we agreed that the scenario worked well and might have gotten a very different result had it not been for Eddy's appaling dice luck in the break tests. I also felt that the rules worked very well - we fought eight turns in three hours time (that's with 14 battalions and 11 squadrons on table) and there was maneuvre, decisions to be taken and exciting action. There's not really much more one wants from a ruleset :)

Charles XII's ;-)
ReplyDelete