Thursday, 24 July 2025

Two new rulesets

So, what does a wargamer do, preparing for the family vacation while the SO is packing the suitcases? Important things, such as making sure we have some shiny new pdf rules with us!

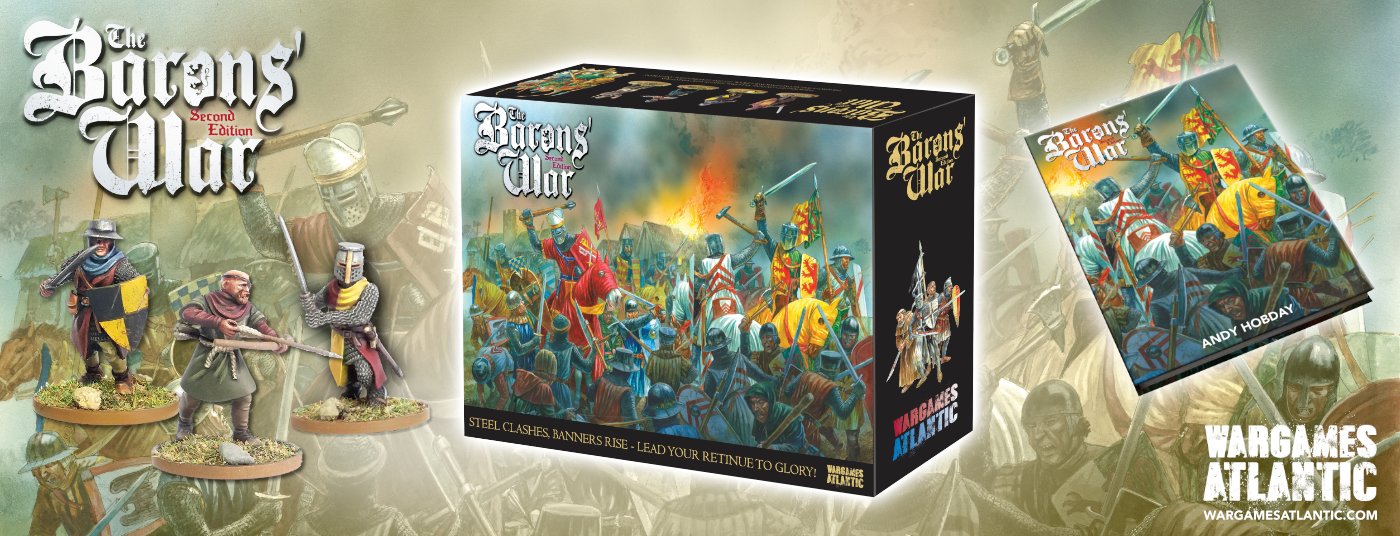
That's why I ordered 2 rulesets: Midgard and Baron's War.


Midgard I ordered because I'm always interested in fantasy games, and Baron's War because I have a significant collection of medieval knights dating back to my Warhammer days more than 30 years ago.

I'm not sure whether we will actually play these rules, but stealing good ideas from rulesets and use them in one;s own houserules is a long-standing tradition in miniature wargaming! 


Playtesting

In the latest issue of Wargames Soldiers & Strategy (issue 136), Rich Clarke of Too Fat Lardies has some interesting thoughts to share on playtesting wargaming rules. I will not repeat the entire column here (buy the magazine!), but one thing struck me in his opening paragraph.


He describes the setup in which rules dynamically evolve over many gaming sessions, and the master document after each game is updated to reflect the experience and insights from the last game. As such, the rules are a "living document", slightly morphing each time. 

It struck a chord with me because that's precisely how I develop my own house rules. I've always been a fan of developing one's own rules, rather than using commercially published rules (although I of course also do the latter!). But it's  an approach that only works in a closed gaming group, with one person clearly in control of the rules.

After each game in which our house rules are used, we usually have a short debriefing session. What worked? What didn't work? What's unnecessary chrome? What is missing? Etc. Over the years, we have evolved towards rulesets that fit our preferred playing style perfectly. But it is a moving target ... rules we were in favour of let's say 5 years ago might not work anymore due to changes in gaming preference, influence from other rules, changing types of scenarios, etc.

Nevertheless, it's an approach that works well. Rather than casting the rules in stone, wargaming rules should be a dynamic. It's completely in sync with the DIY ethos in miniature wargaming. 

Wednesday, 23 July 2025

The Battle of Neutralville (5)

As I've explained before, after each battle, I do some upkeep for the various units and commanders that were involved. I keep track by using playing cards from an old ACW card game, and add some post-it note to write down the changed characteristics.

First of all, each commander that took part in the battle is rolled for on a table of additional abilities, mishaps, or possibly death.

Union:

  • On the right flank, Irvin McDowell was in command, and gains a +1 bonus for movement order.
  • The left flank was commanded by Robert C. Schenk,  but he doesn't seem to have picked up additional experience.

Confederacy:

  • The right flank was under the command of Jubal A. Early, and he also doesn't gain additional experience.
  • The flank that attacked the hill was led by Philip St. George Cock, and he gets a bonus when commanding infantry.

For each side, a unit can be recommended for an additional ability.

  • I decided that for the Confederacy, the 2nd Old Dominion Dragoons would receive a bonus, since the took the lead in the cavalry action on the left flank near the hill. The 2nd Old Dominion Dragoons had the "increased unit strength" ability before, but all abilities are lost when a unit is routed., which happened during the Battle of Freeburg (and hence they were reborn as the 2nd of their series :-)). I rolled on the unit advancement table, and funnily enough, they receive the same "increased unit strength" ability again.
  • For the Union, the 2nd Old Forest Fusiliers drove off the Confederate cavalry twice, came back, even countercharged, and were boosted by a random events card. They now also receive the "increased strength" bonus. 

 As for routed units, they increase their "number". It fits nicely with the ACW theme, and thus we have:

  • 4th Virginia Volunteers
  • 2nd Bayou Bourbon Brigade
  • 2nd Buffalo Trace Brigade
  • 3rd Rebel Oak Infantry

and ...

  • 2nd Wild Turkey Volunteers
  • 2nd Knob Creek Cavalry
  • 2nd Chivas Regal Cavalry

Below you see the updated cards. Sometimes I simply add some marks to the post-it note, but if it becomes too much of a mess, I simply use a new one.

The stars on the officer's cards indicate how many battle they fought in.


The Battle of Neutralville (4)

 The battle continues. Both sides are more or less engaged at close distance now, so the game is devolving into a "continuous" combat mode without too much manoeuvring and movement. So I will just post some additional photos with some comments, spread out over several more turns.

The situation as seen from the Union right flank. The right flank is threatened bu cavalry, while the Confederate troops are still firmly positioned on top of the hill.

The same situation, but as seen from the Confederate side. The southern cavalry is making progress, advancing through the woods.

Disaster strikes for the Confederates, with several units routing!


This is an opportunity for the Union to advance on the village.
 

Back to the Union right flank. The Confederate cavalry has regrouped somewhat and is ready to roll up the right flank.

However, there is some fierce resistance!


In the village, the Confederate troops are still holding on, but the pressure from the Union becomes really severe.


Some more action near the Union right flank (as seen from the enemy's side), with Union infantry routing.


... and another Confederate unit is routing as well. Units have become so low on morale and strength, that any failed morale test quickly results in a rout.


A general overview of the battle.


Another general overview.


And another one :-)


The situation at the end ... 


At this point, I decided to stop the game. Near the village, the Union had succeeded in driving off the Confederacy, but near the hill, the situation was more or less the opposite. However, making an extrapolation based on remaining unit strengths, I concluded that the Union would probably prevail, so they get the moral victory! 

Thursday, 17 July 2025

The Battle of Neutralville (3)

 Turn 6:

 The battle continues. In the village, the Union infantry is trying to get a foothold while the COnfederates are still involved in a firefight with the last of the villagers.

On the hill, the Confederate cavalry has countercharged and has routed one of the Union cavalry units.


 Turn 7:

Don Featherstone is quitly watching the wargaming battle ... 

On the hill, the Confederate Cavalry have now completed routed the Union cavalry. It seems the south will capture the hill and therefore win the battle. But we're not there yet. The Union infantry has reorganized at the foot of the hill on the other side, hoping to combine a tremendous amount of fire power.

In Neutralville, the last villagers have been chased away by the Confederate infantry, but the Union is setting up a firm line of troops to capture the village.

Another view of the situation on the hill. The onfederates eem to be in firm control, but the Union still have three fresh infantry units left.


 Turn 8:

A complete overview of the battle. The Confederates are now establishing strong position on the hill.  

As seen from the Confederate side. They have also occupied the windmill, establishing a firm anchor point in the middle of the battle line.

A view on the village, with both sides occupying some of the buildings.

Another view on the hill, with the Union firing line shown on the right.

Wednesday, 16 July 2025

The Battle of Neutralville (2)

Since I play this game solo, I don;t really want to "win" the game. I rather play the game as an exploration, to see how the battle unfolds.

As neither side could yet see the other, due to the central hill and village, both sides wanted to move forward as soon as possible. Due to our rules, in which one has to roll for unit activation, and then roll for movement distance, the speed at which troops can move during a give turn is variable.

At the end of turn 1, the situation is as follows:

The Confederates have moved the cavalry on their left flank forward, hoping to dash quickly for the hill. The infantry is following at a slower pace. On the right flank, not much progress has yet been made. Note that Napoleon (the Lucky General token) already has switched sides.

The Union moves forward as well, also leading with the cavalry.

A general overview at the end of turn 1:


Let's see what the situation is at the end of turn 2.

The infantry units at the Confederate right flank are moving forward through the corn field. Difficult ground, so they advance slowly. 

The Union Infantry on all flanks have made progress. The Cavalry has taken up position in a small wood.

The Confederate left flank is moving according to plan. The cavalry are well positioned behind the hill, and the plan is that 3 infantry units will occupy the hill such that they can establish a defensive position there.


Turn 3:

 The Confederates are reorganizing somewhat at the foot of the hill, while approaching the village. The villagers now roll for alliance, but the die roll says they remain neutral and will take shots at whoever is closest.

The villagers flee in one of the houses. Note I replace a house with a little floorplan to make room for the figures.
The Union infantry sees the villagers, decide they're in the way, and take some shots ...

Turn 4:

The  Confederate infantry has started moving on the hill ... slowly but surely.

On their right flank, the infantry is involved in some firefight with the villagers. The villagers count as a light unit, so should be eliminated quickly (but you never now, they shoot back!)

A close up of the fight in the village. The Rebel Oak Infantry has taken an adjoining house.

The view from the Union right flank. Not their cavalry has come out of the woods, and has swung to the left side of the hill, ready to charge over the top if needed.

The Union left flank is getting organized to take the village.


Turn 5:

The  firefight in the village continues. The Union has also occupied one of the houses.

A view on the village from the Union side.

On the hill the Union cavalry has charged, ans has driven back the Confederate infantry.

Another view on the hill, with an event card played by the Confederate side.

Another view on the village:


Another view from the Union left flank:

To be continued ...

The Battle of Neutralville (1)

I did set up an ACW game last week, but alas, my regular opponent couldn't make it at the last minute. So I decided to play the game solo.

The scenario is based on a Table Top Teaser from BattleGames magazine (issue 15, Nov/Dec 2008). Two equal forces approach from opposite ends from a table, with the aim of getting supplies out of the town of Neutralitz. However, I changed the scenario somewhat, did away with the supplies, and decided both forces wanted to occupy the central hill and the town. The town has a garrison of villagers who would declare their alliance for either side (or remain neutral) when the first troops would approach the town.  


Both sides have 6 infantry units, 2 light infantry units, and 2 cavalry units. Since this would become an encounter battle with some manoeuvring, I decided not to use artillery. Moreover, the Table Top teaser as published also didn't specify any artillery units.

In my ACW games, all units and commanders have imaginary names, and have a deck of cards with each unit and general represented by a card. The card also has some "advancements" the unit or general acquired as the result of previous games. I usually draw cards randomly to know what units will participate in the game.

 The Confederacy force was drawn as follows. Note also the random event card to be used during the battle.

The Union force is shown below. I rolled the dice and decided the Confederacy would get the first move, so the Union would start with the Lucky General token (Napoleon!). The Lucky general allows you to reroll a command roll, but then you have to hand over the Lucky General.

I divided each force in 2 brigades of 5 units each, and decided what general would occupy each flank. Below you can see the initial setup of the game.

 The battlefield, as seen from the Union side:

As seen from the right flank of the Confederacy:

The Union battleline:

An overview of the entire table:


 Next: The first turns!