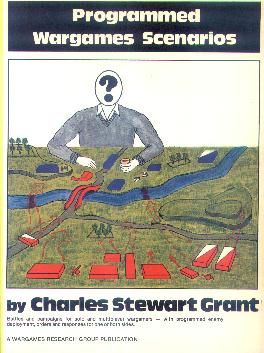
For those of you not familiar with the concept: the book provides a number of scenarios, in which the terrain, force composition, initial orders and responses are diced for randomly for one or both sides - all within the bounds of a specific scenario.
Since I never really tried a programmed opponent before, I decided to take the first scenario, Hill Line Defence, but have both sides programmed. Just to see what would happen. I also decided to use our own ACW rules in 28mm.
The lay-out of the table (each third section rolled for) is shown below - although the photograph is taken near the end of the game. The attackers have to capture the hill in the North.
 |
| Attacker in front, hill to be captured near the other end of the table. |
Next step, to roll for attacker's plan. This resulted in a deployment of most units on the left flank. Also, the light troops and those not in the main attack (middle and right) would just hold the initial line.
As for the defender, I rolled 4 infantry units, 2 light infantry, 2 cavalry, and 1 artillery. I added two generals, both of them were Deliberate - hence the 8 command rating. The deployment resulted in 50% of the troops in the centre, 15% on the left flank, 35% on the right flank. I translated this as well as I could to the troop numbers available. I placed the artillery on the centre crossroads, and a light unit holding the farm. One cavalry unit was a mandatory reserve in the centre.
The plan was to be content to hold the hill or parts thereof at the end of the wargaming day, provided the forces are still united at that location.
So, the game started. The plan for the attacker was pretty straightforward: attack with all units on the left towards the enemy's right. The defender would just fire back at the approaching attacker. A first response roll happened when the cavalry units charged up the hill. The response generated was that the other flank (defender's left) was to be denuded to contain the attack. After a few more rounds of shooting and melee the fight was more or less over, in favour of the attacker.
 |
| Solid arrows indicate major troop movements, hollow arrows major fire actions. |
Great fun! Up to scenario 2 - Broken Ground!


Your table looks really impressive. What a lush setup.
ReplyDeleteThanks for bringing this book to my attention. It looks like it can add a lot to solo wargaming.
Yes, this scenario book is very useful. I bought it over 20 years ago, but there are a lot of good ideas in it for the solo wargamer.
ReplyDelete