Sunday, 15 May 2011

Shootist in 54mm

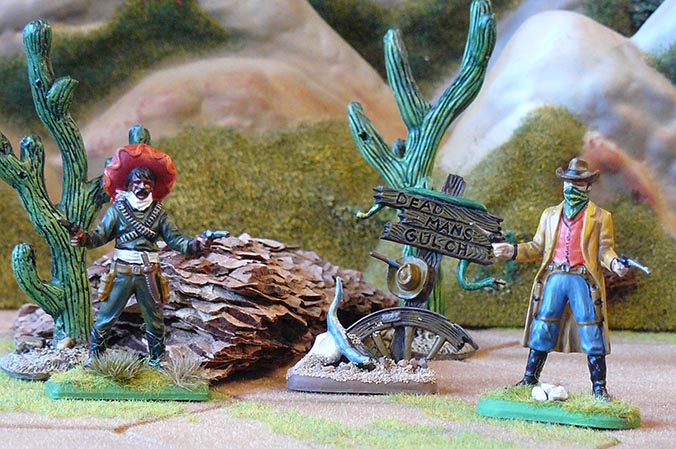
I recently tried my painting skills at some old 54mm Britains Deetails Old West cowboys. These figures have been in my collection for almost 40 years - I got them when I was a kid aged 5 or 6 as a ‘Sinterklaas’ gift (Belgians and Dutch wargamers will know what this means, and for all the others: it’s the original Santa Claus in the low countries). The original Britains figures are very crudely painted; they are toy soldiers after all. I completely repainted the figures, maintaining the original color schemes, but applied some layering to give the figure more depth. Since I also wanted to maintain the toy soldier look, I didn’t go overboard with painting too much detail. The sculpting of the figures don't really allow it either.

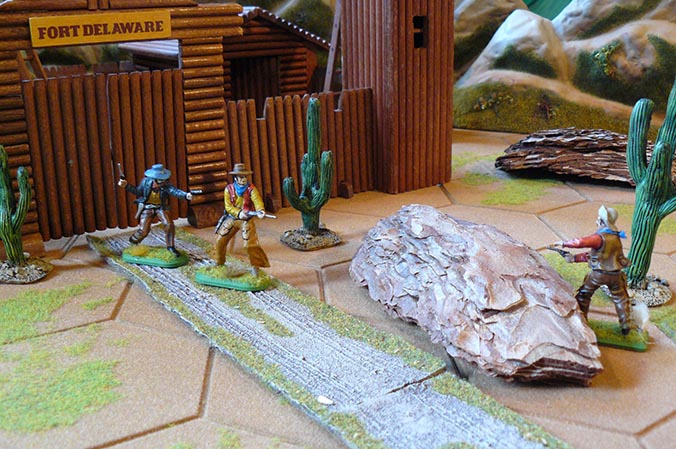
I couldn’t resist setting up some scenes using my old wooden fort (same Sinterklaas gift), adding some scenery items from my wargaming collection.

scene1.jpg
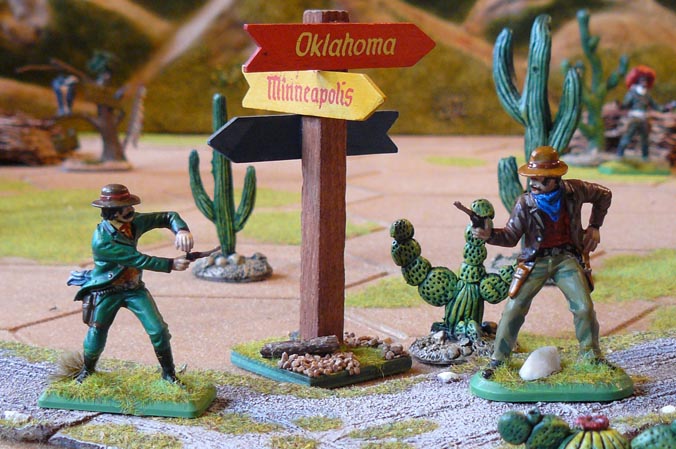
Shootout at the Oklahoma - Minneapolis crossroads. The roadsign is also over 40 years old and is part of my wooden fort set.
scene2.jpg
Two gunmen defending their hideout. The 'Dead Man's Gulch' sign is also from the Britains Deetail range.
scene3.jpg
Shootout in front of Fort Delaware.

Just for comparison, below you see a picture (ripped from the internet somewhere) showing original Britains Deetail figures - but in different color schemes. Apparently, there was a lot of variation to be found in the painting style when they were sold. Britains Deetail figures were apparantly sold mostly during the seventies.

A complete overview of the Britains Deetail range (Wild West figures) can be found here: http://www.angelfire.com/biz/toysoldierhq/Britwestd.html

I still have some Indians and US Infantry figures lying around as well, but I think I'll return to painting 28mm figures for now.

Update: In the mean time I discovered that the oval-shaped bases date from a later period, and that the square-based bases are the original early-seventies ones. So somehow, some 'newer' figures have entered the box in which everything was kept in the attic during all those years. Perhaps my younger brother acquired some figures during later years, and they were all tossed together. I also don't exclude the possibility I bought some additional figures myself when I already started wargaming, but I have no recollection of that. Fact remains, I did receive a wooden fort with some cowboys and indian figures when I was a 6-year old kid :-)

Friday, 6 May 2011

1st Chevauxlegers

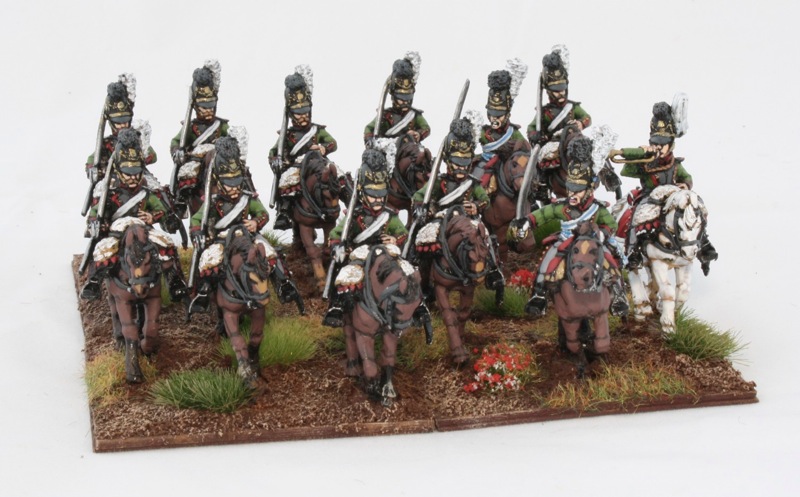
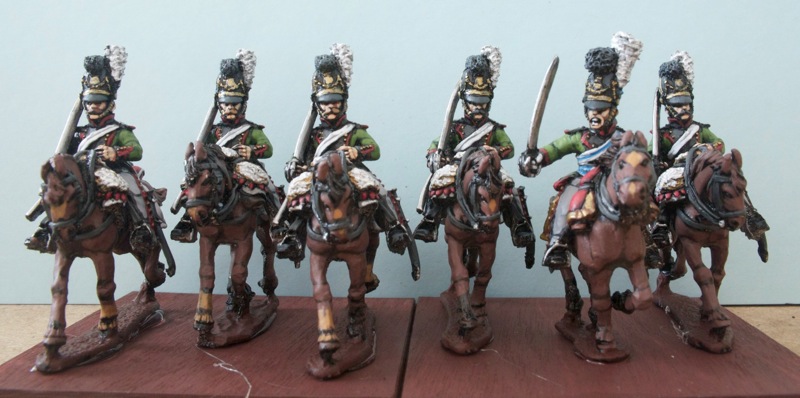
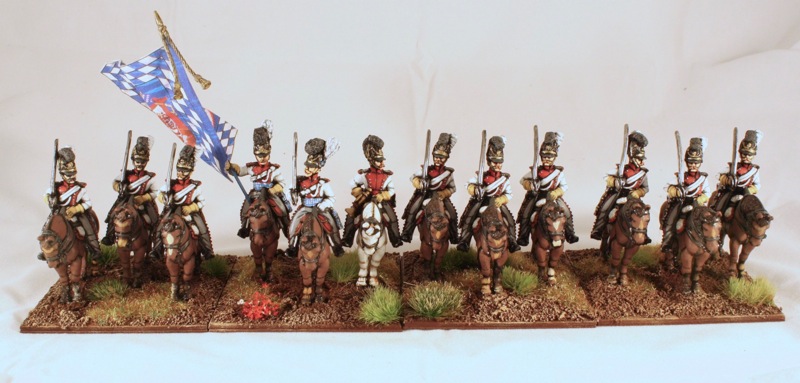
Finished and based up, two squadrons of 1st Chevauxlegers, _König_ of the Bavarian army of 1809:

1st Chevauxlegers

They have another two squadrons coming (they had four in the field in 1809) but I'll paint those as a separate unit for Black Powder.

Tuesday, 3 May 2011

The Battle of Saint-Clair radar station

On Easter Monday, Alan and Koen came over to Zemst to play my April 'big game' (I try to organise one big scenario game each month - so far March's game was Holowczyn and now April's was this) which is the Battle of Saint Clair radar station, a semi-historical scenario covering a British para drop during D-Day, June 6 1944. The British paras must, as part of the larger airborne operations on the day, capture and disable the German long range Wassermann radar at Saint Clair and then retreat westwards, preferably blowing up the bridge across the Dives river behind them. For those knowledgable about D-Day, the semi-historical part of the scenario is to be found in the fact that I moved the radar station over to the other side of the Orne river and adjusted the opposing forces to match my collection of figures.

Alan and Koen took on the role of British para commanders while I played a dual role as umpire and German commander. Alan took 1st Battalion, the Parachute Regiment (1PARA) under command, while Koen played 2PARA and 1st Parachute Brigade Regimental HQ and AT attachments (two troops of 6 Pdr guns). The following photo shows the British commanders working out their plan before the game (as unlikely as it may seem, this photo was not staged :) ):
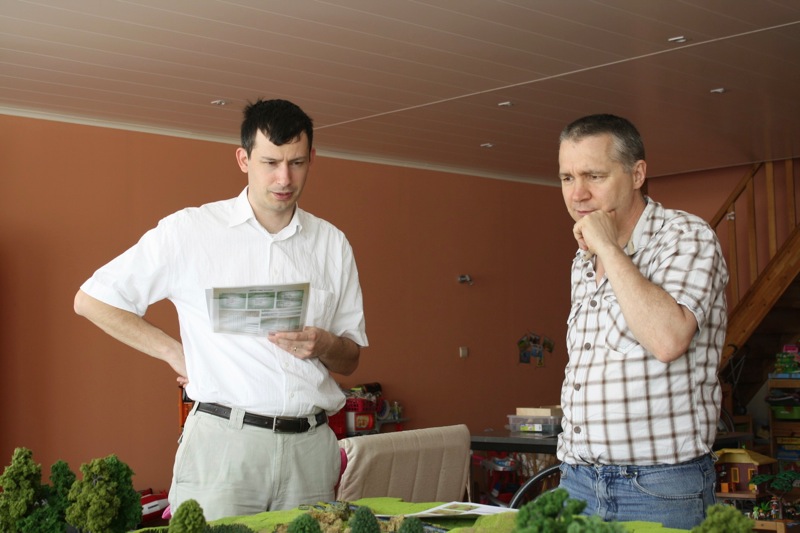
IMG 2213
Koen and Alan making plans ...


1PARA, landing between Saint-Clair and the radar station north of it, decided to profit from the surprise of the drop to rush the radar station. An action in true paratrooper fashion, to be sure, but perhaps not the wisest one, given that the station was defended by, among others, a deadly quad 20mm AA gun. But perhaps the daring paras might be able to storm the station while the gun crew was still waking up?
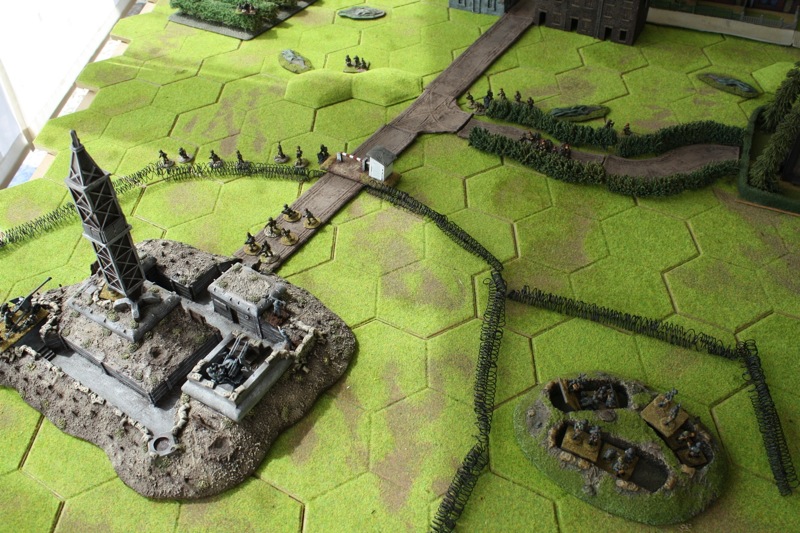
IMG 2217

While 1PARA was dashing to glory, 2PARA rushed the town of Saint-Clair. The paras quickly defeated the company sized German garrison of the town, taking only light casualties in doing so. The AT guns which had landed in the same area as 2PARA were hitched to their jeeps and started off across the fields in the direction of the main road and bridge west of town. So far, D-Day was going well for the Red Devils.
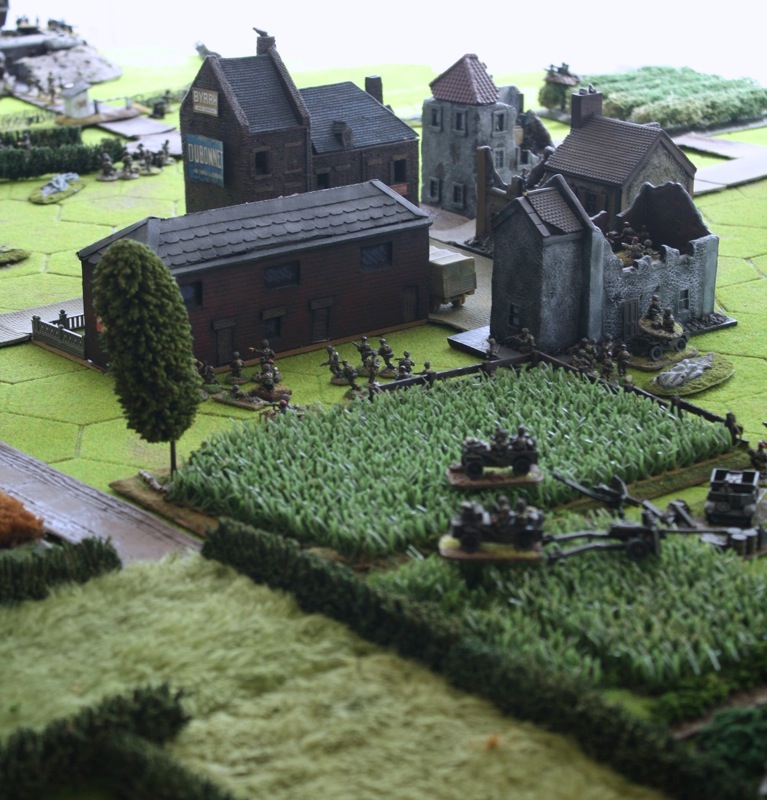
IMG 2220

The German defenders meanwhile, except for the unfortunates in Saint-Clair itself, were fairly slow in manning their guns (they had after all only just settled in, having spent most of the night on alert) so 1PARA succeeded in dashing a company straight through the gates and up to the entrance to the bunker complex under the radar station before the first defenders were seen in the gun pits of the complex.

Late to the party the Germans might have been, but they were just in time. Before long, the battalion of paras attacking the now fully alerted defenses of the radar station was smashed to pieces. Between the fire of a 75mm AT gun, a company in the trenches outside the bunker complex and especially the deadly quad 20mm AA gun, 1PARA was quickly reduced to a single company in cover behind some hedges, with just a few scattered survivors of the rest remaining. 1PARA had effectively seized to exist as a fighting unit. The high tide of the advance was the charge of an unnamed sergeant, the last remaining survivor of the company that had made the intrepid dash to the bunker complex, who managed to reach the main radar control bunker. A VC was definitely in the making there, but fate intervened when the Germans inside the bunker came out on top in the ensueing struggle.

Clearly, 2PARA would have to fulfill the mission now. And that it did. Undaunted by the fate of its sister battalion, 2PARA mounted a company in some German trucks captured in Saint-Clair and rushed them down to the radar station. There, supported by fire from their battalion mortars and a troop of pack howitzers from the divisional artillery, they were able to suppress the crew of the AA gun with accurate small arms fire. Profiting from the lack of heavy return fire resulting from this, they then made short work of the German company in the trenches. This disheartened the defenders of the radar station to such an extent that they decided discretion was the better part of valour and surrendered themselves and the radar station. The primary task of the mission was completed!

There now remained the secondary task. The paratrooper force needed to relocate to Bricqueville, west of the Dives river and in closer contact with the rest of their division. The bridge over the Dives they would cross on the way there also needed to be blown up to deny its use to the Germans. At this point, they had 2PARA virtually completely unscathed, with two companies passing through Saint-Clair on foot and a third mounted on German trucks in the radar station. 1PARA, with about one and a half to two companies (out of five) of effectives remaining was regrouping between the radar station and Saint-Clair and the AT guns were deploying on a small rise overlooking the road to Bricqueville. German resistance in the area had stopped after the surrender of the station garrison.

Just then however, a column of German trucks was spotted arriving from the direction of Bricqueville which wasted no time in dismounting a company of what seemed to be Fallschirmjäger in some woods by the road. It seemed that the small staff car the paras had spotted racing west earlier in the day had alerted German reinforcements. Clearly, the fighting was not over yet.

While the AT guns, which were now the closest to the enemy the British had, started exchanging fire with the newly arrived German troops, the paratroopers on foot started redeploying to counterattack the German reinforcements. The Germans, who over time were reinforced until a small battalion of Fallschirmjäger blocked their British counterparts' progress towards Bricqueville, scored a major victory when they managed to eliminate the crew of the British AT guns. This would prove to have serious consequences soon.

Some time later the British were getting the upper hand in the fighting against the German reinforcements when an ominous clanking and creaking was heard from the west. Two platoons of PzIV tanks from 21st Panzer division had arrived, and the British were out of AT guns. Things did not look well.
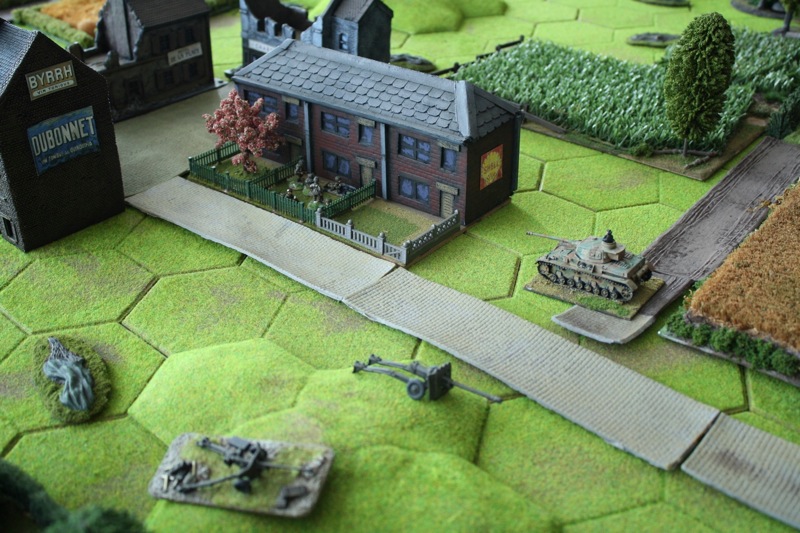
IMG 2223

The Panzers went to work immediately, one platoon advancing along the road and the other swinging out on the flank and wrecking some French farmer's fields to outflank the British paras along the road and in Saint-Clair.  With the AT guns out of action, it fell to the PIATs in the parachute battalions to deal with the tanks. Another opportunity for a VC presented itself. However, when the first PIAT team dashed into range of the Panzer IV on the road, missed it and was mercilessly machine gunned afterwards, the British quickly decided to change tack.

Given that they were mostly powerless to do anything about the roving panzers, the British quickly redeployed and set about getting as many of their men as possible across the river towards Bricqueville. Again showing great resourcefulness the paras set up a relay of jeeps, Bren carriers and captured German trucks to organise a veritable taxi service through the fields westwards. With the exception of a company in Saint-Clair besieged by panzers and a second company dispersed after running into one of the panzers in the fields, most of the remaining British managed to make it to safety. When the final paratrooper set the fuse on the demolition charges on the bridge, the secondary task of the mission was also accomplished. The final photo shows the final few paratroopers marching across the bridge escorting a number of German prisoners:
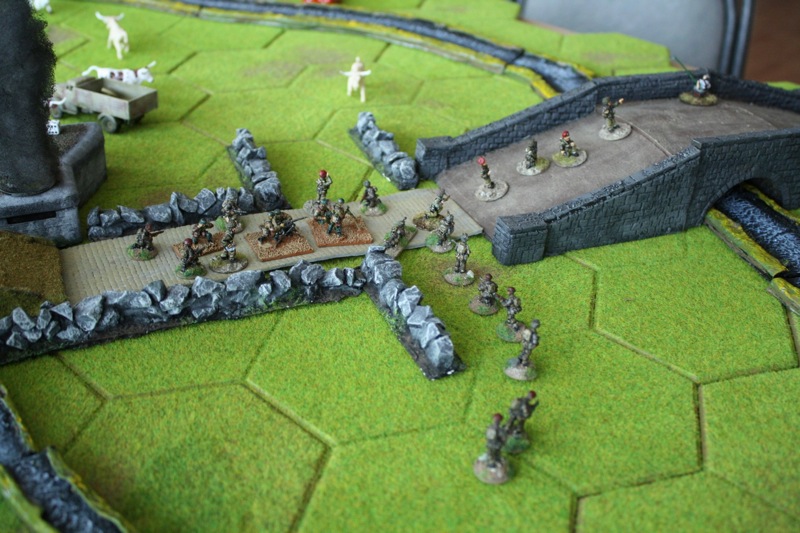
IMG 2225

It was a major British victory, though at great cost. Out of an original 10 companies of paratroopers that dropped, only an estimated three companies' worth plus brigade assets made it across the Dives river to Bricqueville.

Tuesday, 26 April 2011

Some more British paras

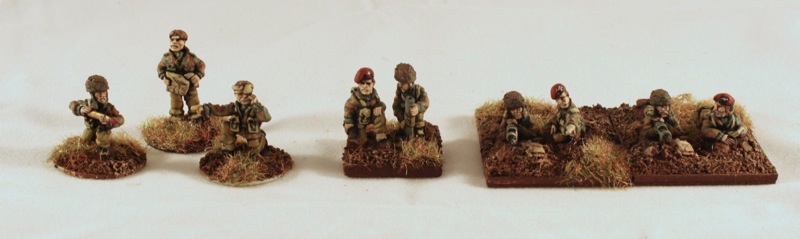
Because I needed them quickly for a game (and was tired of pretending they were lost during the airborne drop :) ), I painted up these paras Sunday evening:

British paras

These are 20mm scale Britannia Miniatures. There's two PIAT teams, a 2" mortar team and three AT gun crew.

The game in question was played yesterday. A teaser pic showing these and some of their friends in action in the sleepy French town of Saint-Clair:

IMG 2220

More to follow :)

Sunday, 17 April 2011

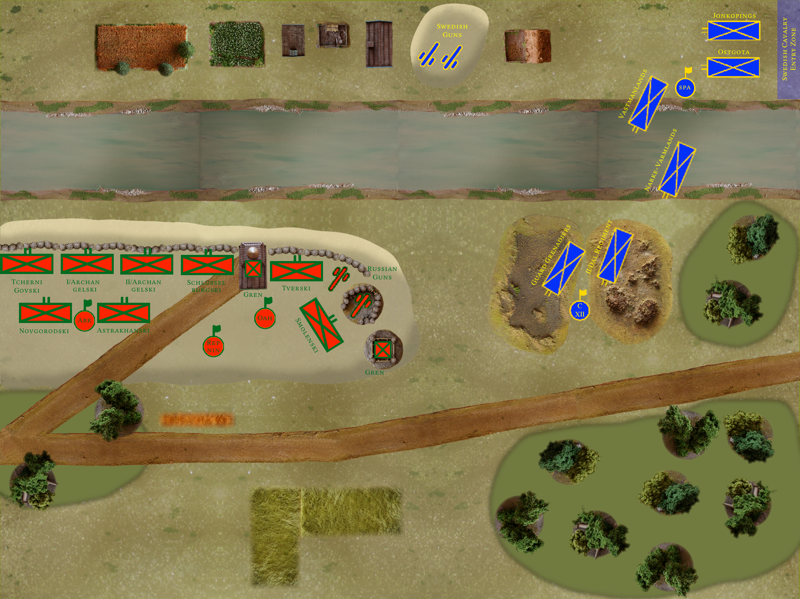
Holowczyn: deployment

Here's the final map for the deployment of the Holowczyn scenario:

Holowczyn deployment

Main differences with the previous one are reworked hills (thanks Alan), blended-in terrain and -- obviously -- the Swedish and Russian units at deployment.

Monday, 11 April 2011

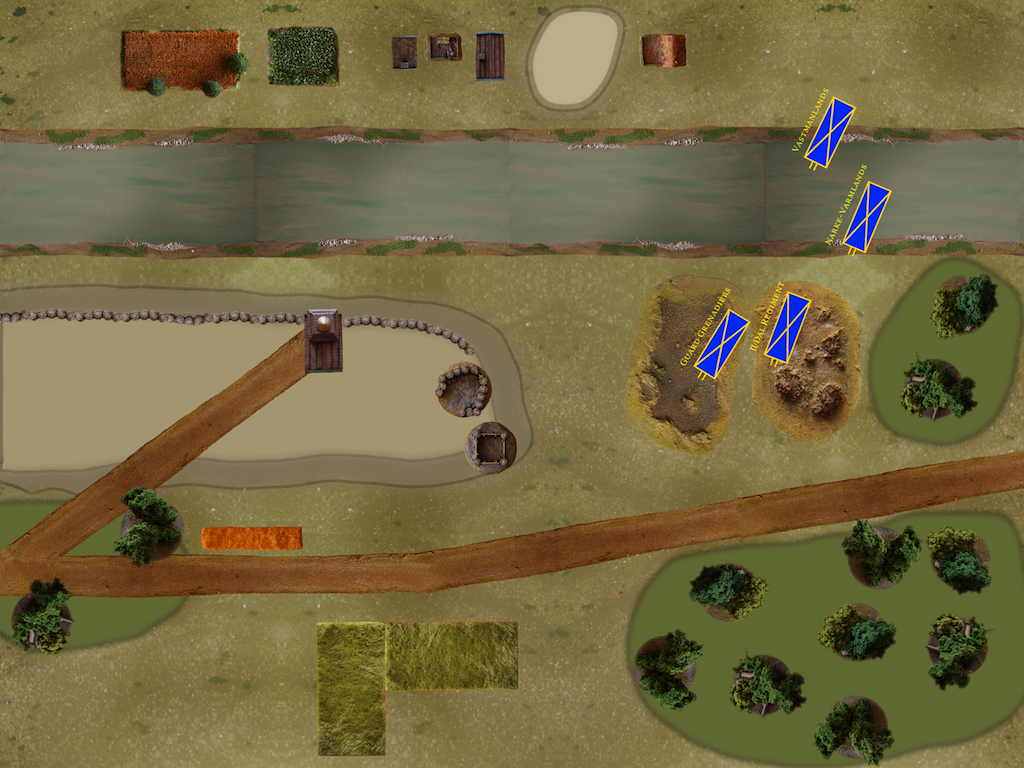
Mapping experiment

As mentioned yesterday, I have been experimenting with a new way of drawing maps for scenarios. It basically consists of a mix of drawn features and photos of actual terrain pieces. Here's the first result, a map for the Holowczyn game with the first four Swedish units already on:

Poltava map

It still needs some work, such as (obviously) adding all the other units and blending in the photos a bit more, but it is finished enough to give an idea of the final look. Comments appreciated!

Sunday, 10 April 2011

WWII Radar station

My basic plan this year is to put on one 'big new' game every month. This means a game with a new scenario, or revisiting an old period, or something like that. Last month's game was Holowczyn (a new scenario), while this month's will be a WWII 20mm bash whose center piece I have been painting over the last few evenings:

IMG 2119

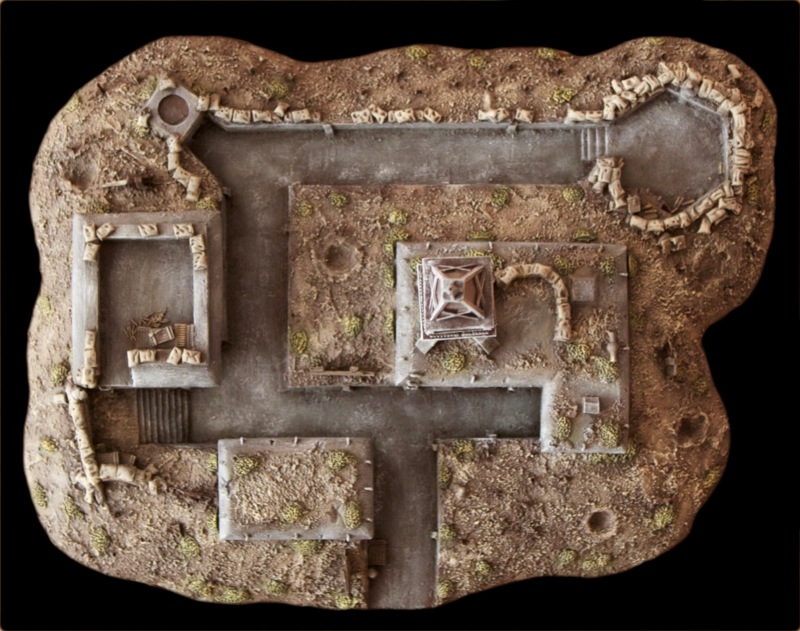
That's the 20mm radar station from Grand Manner, of whose excellent products I have a growing collection (the fort in the Poltava game is another Grand Manner piece, and I have some 28mm scenery awaiting paint for the Napoleonics games). The radar tower and the three roof pieces lift off, providing gaming access to the inside of the bunkers and dug outs.

As you'll notice, the picture above is a top down view of the terrain piece. That's because of something I've been quietly working on for a while now: I'm taking top down pictures of every terrain piece I have (well, not exactly every one, but a representative selection of all types) for use in scenario and battle maps. The first result of this (the map for the battle of Holowczyn) is almost finished and will appear here later.

Saturday, 2 April 2011

II/1st Chevauxlegers

After painting their heavier cousins, I turned my attention to the four squadrons of chevauxlegers that were in the 1st Division of the Bavarian army of the 1809 campaign. Those four squadrons make up the 1st Regiment of Chevauxlegers, named _König_ as many of the other first regiments in the army. Here is their second squadron, fresh off the painting table:

1st Chevauxleger unbased

The figures are from Wargames Foundry. They are noticeably less hefty than the Dragoon figures (by Front Rank), which I think fits well with them being the lighter regiments - the Dragoons descended from Cuirassiers. Next on the painting table is their first squadron.

Wednesday, 23 March 2011

1st Dragoons 'Minucci' - 1809

These have been shown in separate, just painted squadrons, but here is the whole regiment as it operated in the 1809 campaign (they had two squadrons in the Crown Prince's 1st Division):

1st Dragoons

The figures are Front Rank, while the flag is from Maverick Models (50mm effect flags on material). Both come highly recommended.

Thursday, 17 March 2011

Russians repulse Swedes at Holowczyn!

Update February 2016: Link to Forces document restored.

Yesterday, Eddy and myself played the first in what I hope will be a series of historical scenarios with my Great Northern War collection. As that collection exists of Swedish and Russian armies, the scenario series will focus on Charles XII second Russian campaign of 1708–1709 (_as an aside, if anyone with a better command of English than myself can tell me how to write the genitive of Charles XII, I'd be obliged_ :)). The first scenario visits the battle of Holowczyn where historically Charles took an enormous risk in crossing a river into a swamp in the hopes of defeating a part of the Russian army in detail before the rest could intervene.

We played the battle using Black Powder with all distances reduced to 66% of the values published in the book and using our own Great Northern Powder extensions. Eddy took on the role of Charles XII while I played Russian commander Prince Anikita Ivanovich Repnin. I'm still writing up the scenario (I had no idea whether things would work out -- they did and I'm now writing it up), but these are the forces we used, which are essentially the historical ones (bar a massive renaming of regiments to match my collection) in a 1 wargame unit for 2 historical units scale:

Holowczyn forces (636Kb)

The rest of this (rather large) entry will be a photo report of the battle as we fought it. As you'll see, history was somewhat changed in our refight :).


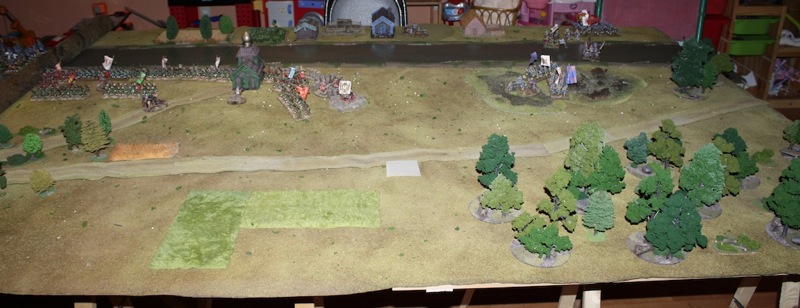
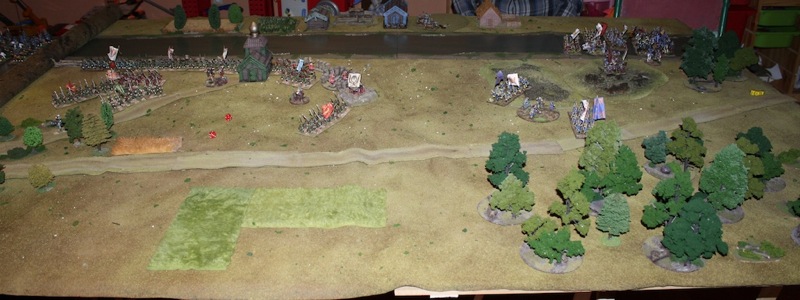
First up is the battlefield at setup. The Russians can be seen on the left, positioned behind their fortifications across the Vabich river from the village of Novoje Selo. The bridge running from there to the Russians' bank is not represented on the battlefield. The Swedish setup sees two battalions already across the river and in the marsh, with the rest following behind.

Holowczyn 001

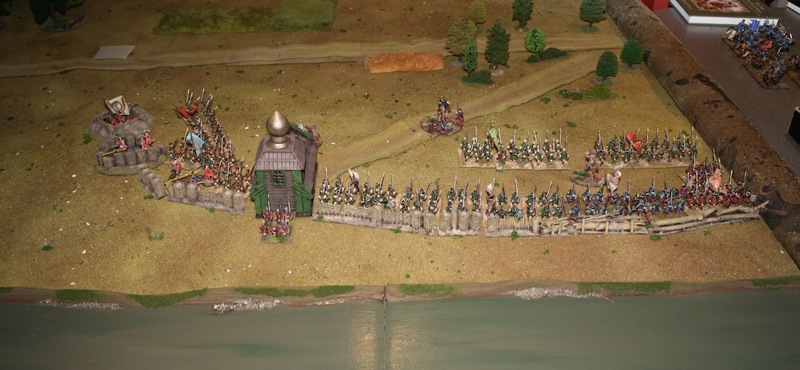
A close up of the Russian position, from the other side as the previous picture:

Holowczyn 002

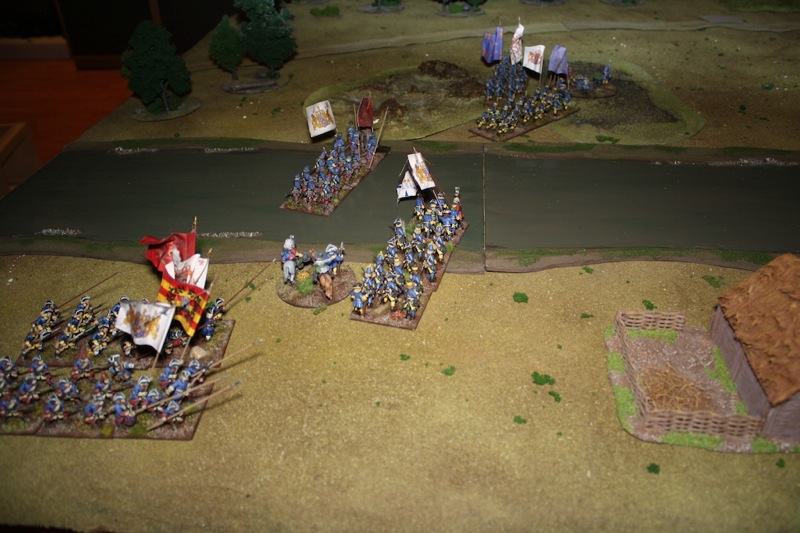
And the same for the Swedish starting position:

Holowczyn 003

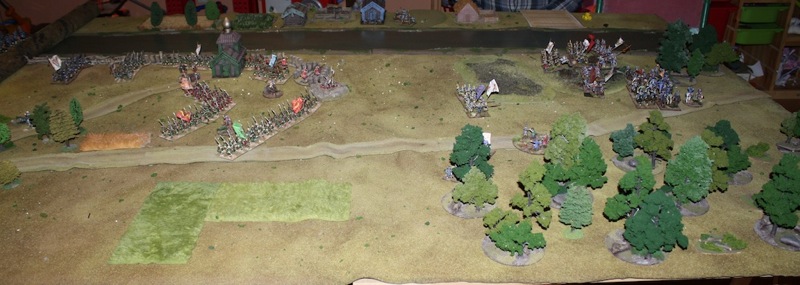
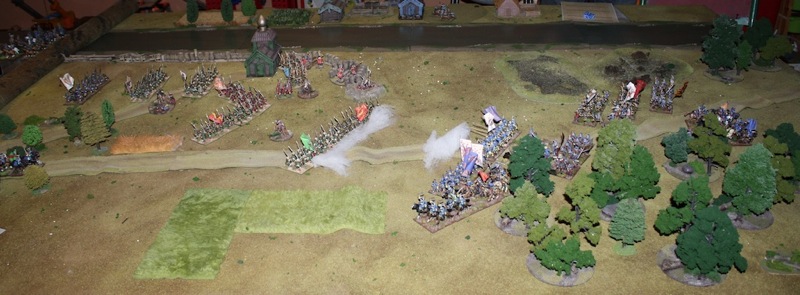
At the end of turn 1 the Swedes had advanced further and brought up their cavalry while the Russians started redeploying. My plan with this was to form a line facing east (facing the camera) extending the now useless fortification line, and hold on for dear life until the Russian cavalry could arrive from the south.

Holowczyn 004

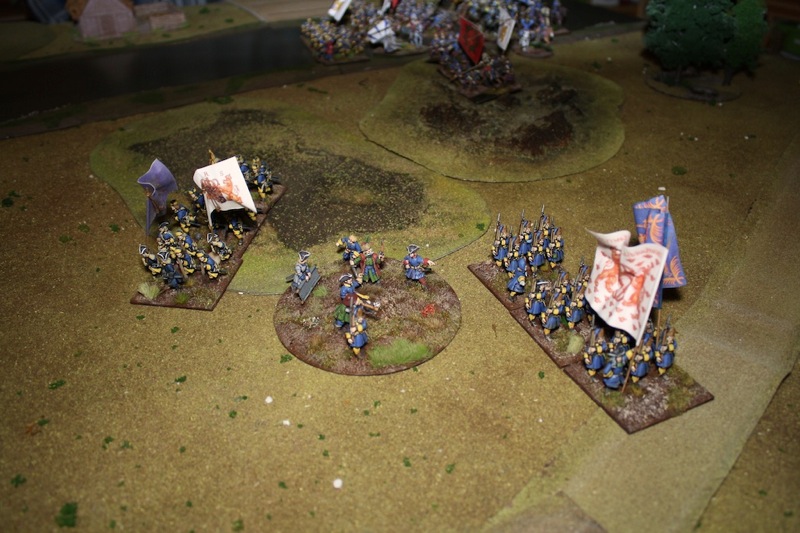
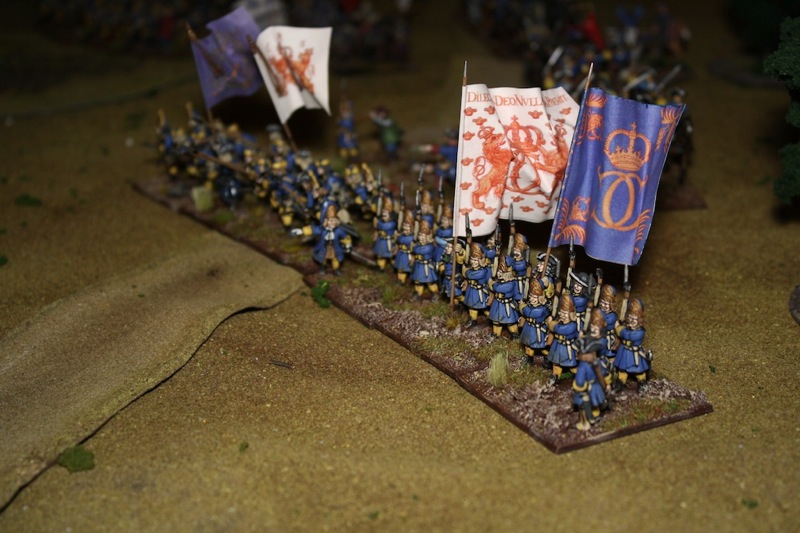
A close up of King Charles (ahistorically depicted in his wounded Poltava guise :) ) leading the Dal regiment and the grenadiers of the Life Regiment out of the marsh:

Holowczyn 005

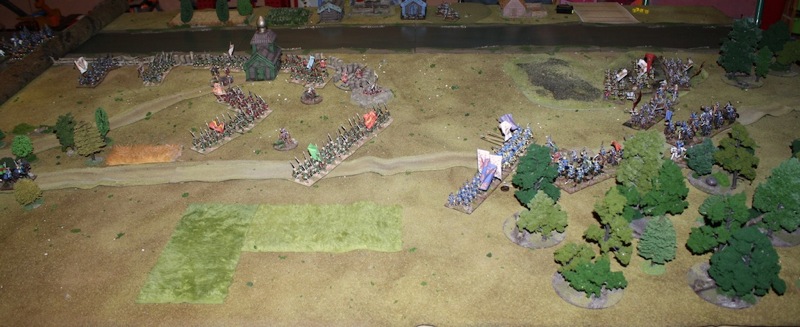
At the end of turn 2, my line was solidifying somewhat while the Swedes pushed on:

Holowczyn 006

A turn later the Swedes were coming very close indeed (though still outside of musket range) while my units seemed to be getting stuck doing bugger all (as the Russians say):

Holowczyn 007

A close up of the _crème de la crème_ of the Swedish army, the grenadier battalion of the Life Regiment:

Holowczyn 008

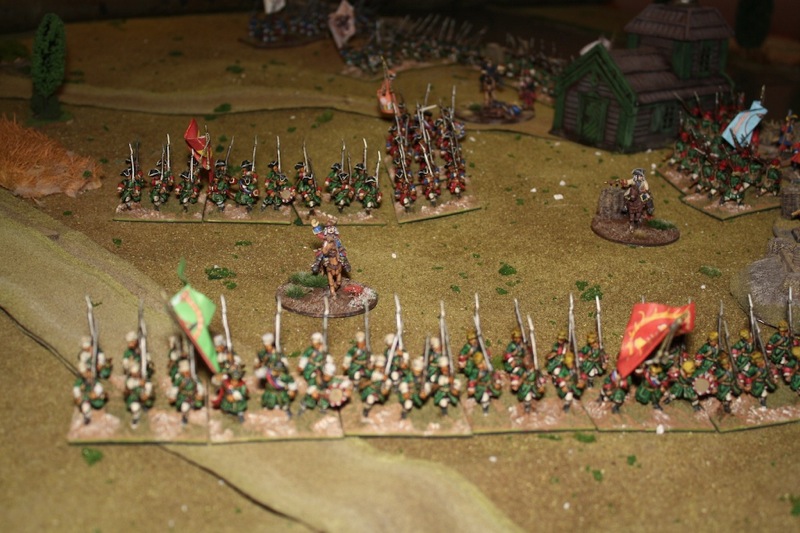
And their somewhat more pedestrian adversaries in the Russian line:

Holowczyn 009

While I did not fancy my chances against a Swedish charge (hence my attempt at forming a second line behind the first) I did know I could outshoot the Swedes as they had less muskets in their battalions than the Russians (and as in fact happened in the real battle for a long time), so I moved the two battalions already in position to musket range and a lively musketry duel developed. The end of turn 4:

Holowczyn 010

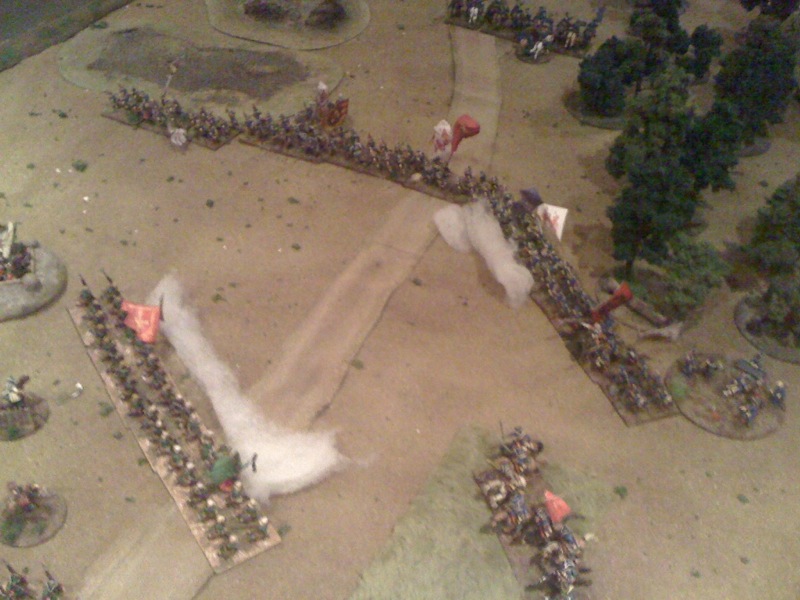
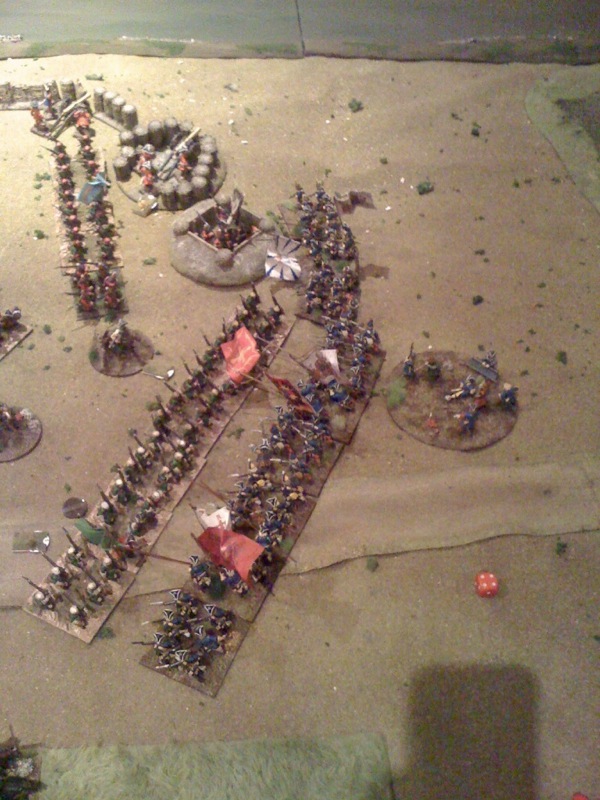
At this point, my camera's battery died, so the next set of pictures is off of my cellphone which you will notice in the lack of quality in these pictures :). The musketry duel mentioned above ended very much in my favour. I had expected and hoped this but the result exceeded all expectations when the brave Russians managed to break none other than the Swedish Guard Grenadiers! This was the result in what would become a pattern for Eddy during the game: of the five break tests he took in the game, four resulted in outright destruction of the unit in question (which had about a 1 in 10 chance of occuring each time).

Eddy withdrew his remaining units outside of musketry range and formed a line ready to charge the Russian infantry. You'll note the absence of the Swedish guard in this picture:

Holowczyn 011

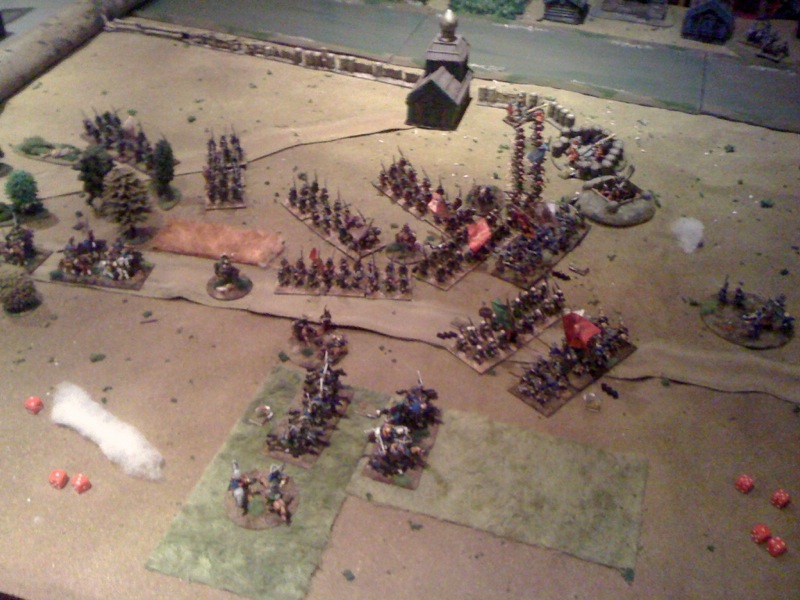
Incidentally, while this all was happening, the eastern flank (towards the camera) was covered by half of Eddy's cavalry (the other half was guarding the northern approaches to the battlefield where a Russian Guard battalion would appear towards the end of the game). These subsequently had a jolly good scrap with my cavalry which was by then arriving from the south (as can be seen in the overview photos as of turn 3). The cavalry battle was however not instrumental in the decision of this battle. What was decisive was this charge of the Swedish infantry:

Holowczyn 012

It was very much an all or nothing charge and unfortunately for Eddy ended in the nothing camp (those break tests again). While the Russian line got seriously disordered and pushed back, the Swedes did not break through and lost heart. A Russian victory! The battlefield at the end of the battle:

Holowczyn 013

After the game, we agreed that the scenario worked well and might have gotten a very different result had it not been for Eddy's appaling dice luck in the break tests. I also felt that the rules worked very well - we fought eight turns in three hours time (that's with 14 battalions and 11 squadrons on table) and there was maneuvre, decisions to be taken and exciting action. There's not really much more one wants from a ruleset :)